What is BedSense?
Pressure ulcers are extremely painful for the patient and taking care of them is very intensive and expensive work. Despite this, preventing pressure ulcers is often not prioritized due to more visible problems requiring immediate care.
BedSense focuses on preventing pressure ulcers through monitoring the patient's posture and sending a signal to the caregiver if the patient has been lying in the same position for too long.
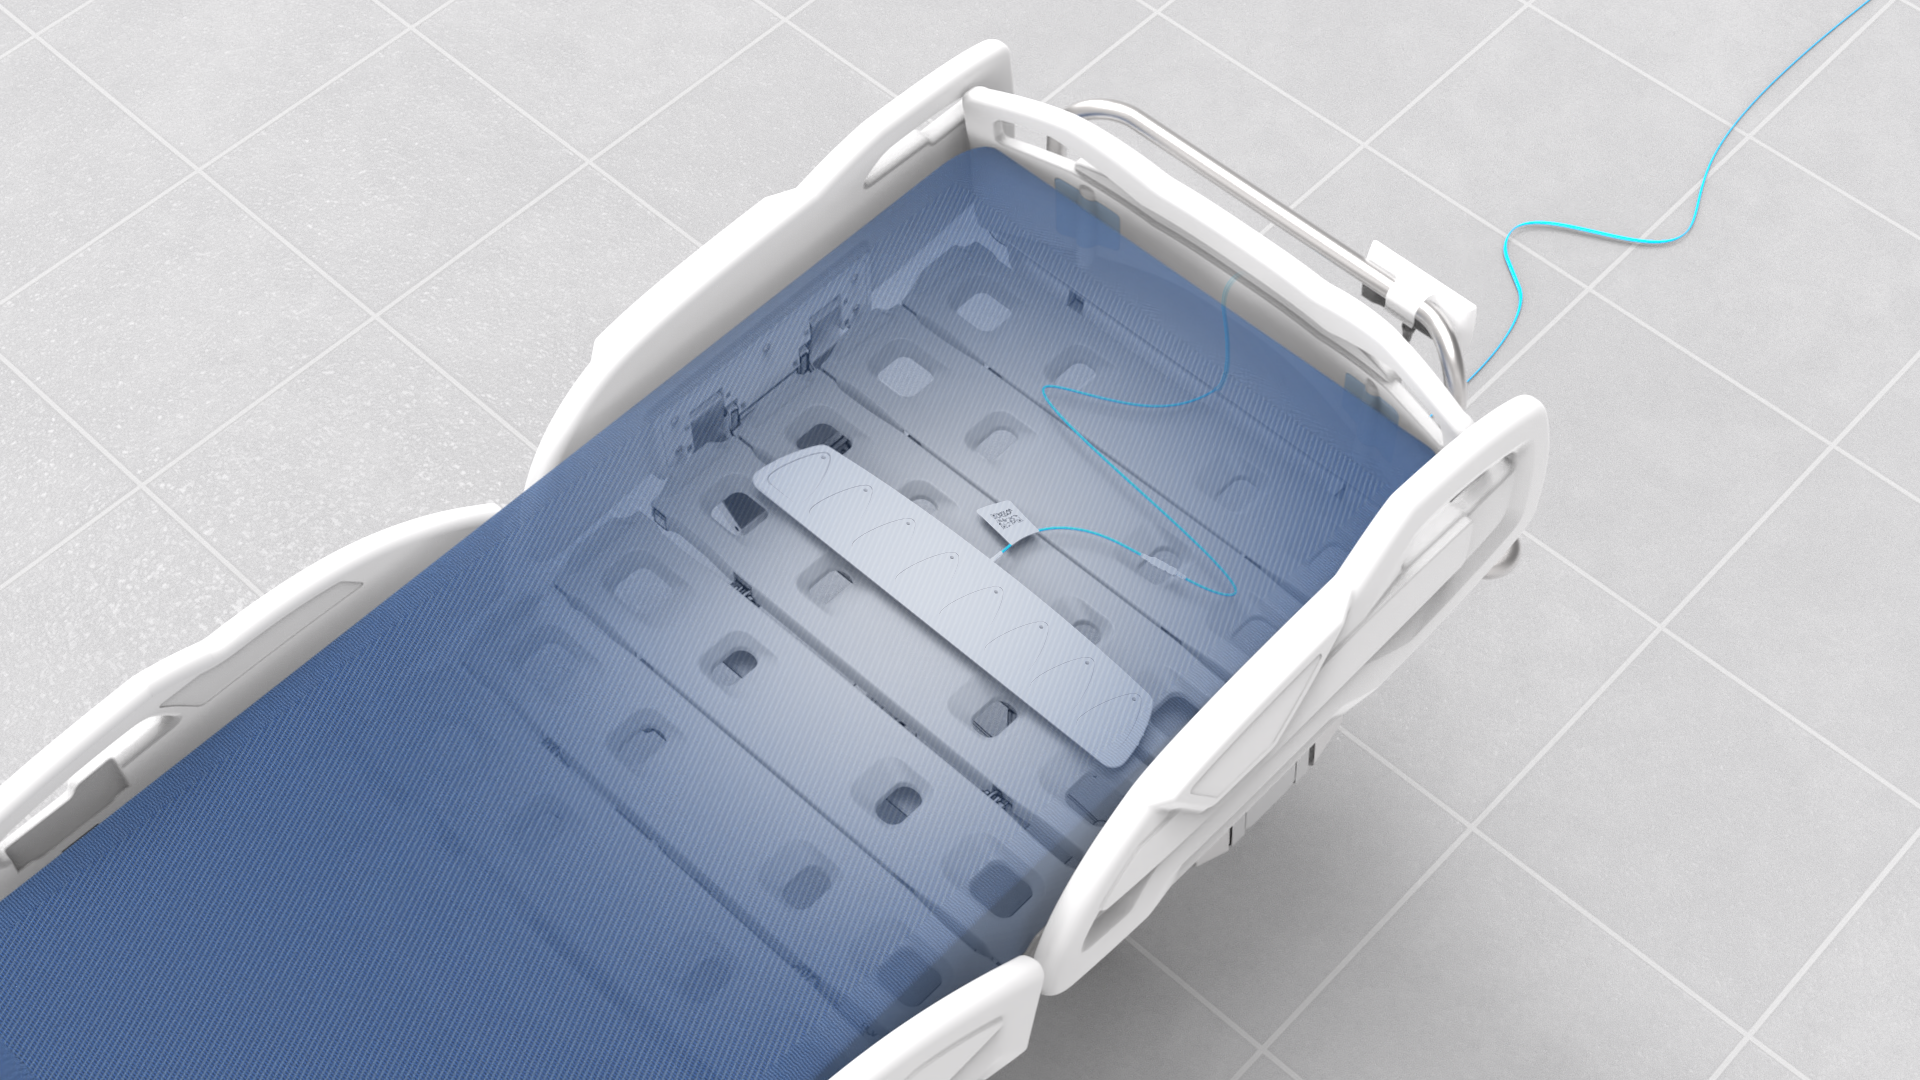
BedSense exists out of two main products, the Control Unit and the Sensorplate. The Sensorplate is positioned underneath the patient's matress and houses multiple sensors that monitor posture. The Control Unit signals the caregiver by a visual notification.
Assignment
Certain aspects of BedSense can be improved upon, mainly DFMA, the installation time of the system as a whole, and the vulnerability of the cable connecting the Sensorplate to the Control Unit. On top of that, the wall-mounting system of the Control Unit and overall strength of the Control Unit's housing could be improved.
After a lot of critical thinking, field research and truly evaluating the problems, I came to the conclusion that all of the assignment's main problems could be solved by integrating the Control Unit into the Sensorplate, thus creating a Sensorplate only version of BedSense.
Final Thesis Project, Duration: 20 weeks.
Design vision
The new and improved version of BedSense will have a modern and minimalistic appearance that matches the current face of BedSense, the Control Unit. The redesign of the product ought to improve current conditions, and should be easy to understand and use for nurses, supporting them and lowering their work-load.
Development
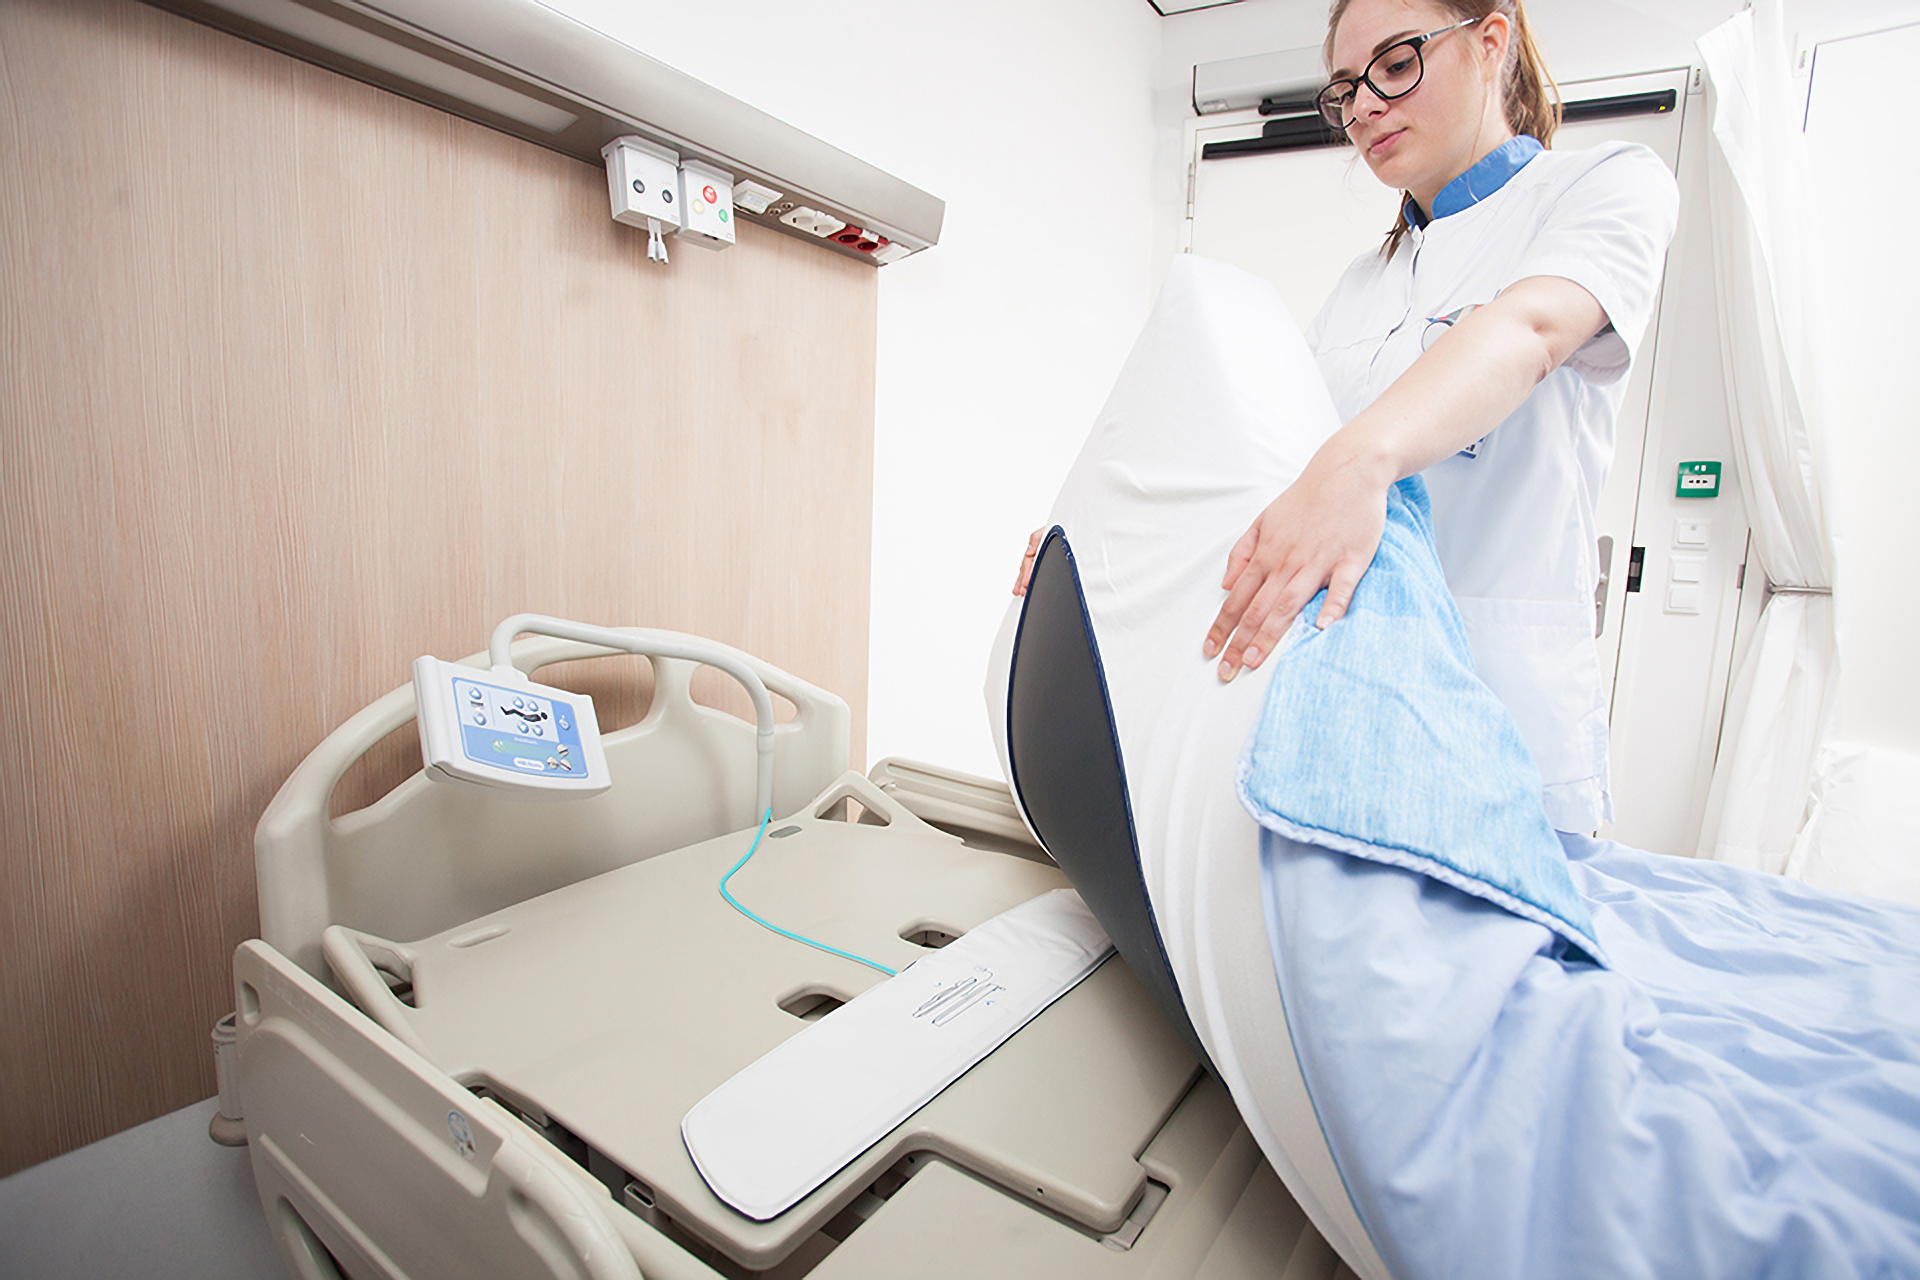
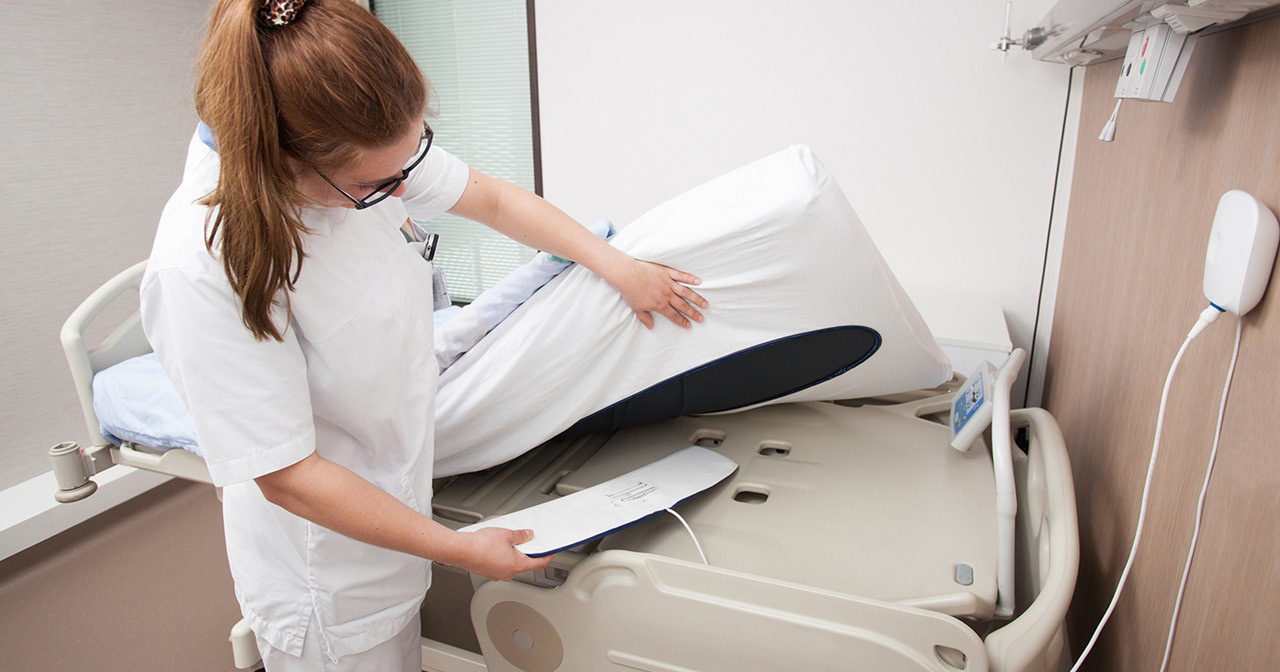
Before I started ideation, I did research as to fully understand the product. I wanted to know how the product is being installed, what type of people use BedSense, and how they interact with it. To get more insights in these matters I visited multiple nursing homes where BedSense is currently deployed and communicated with their primary users as to fully understand whom I am (re)designing this product for.
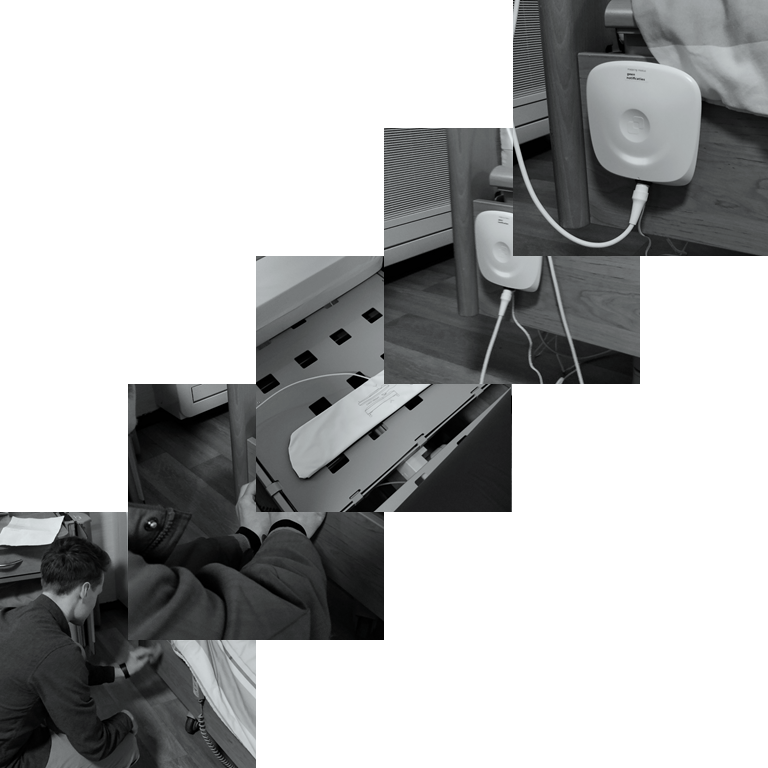
The installation process of BedSense takes approximately 10minutes. The majority of this time is spent preparing the surface where the controller will be mounted on.
1. The surface is cleaned by using an alcohol-solution.
2. The mount is attached to the surface by using an adhesive strip.
3. The sensorplate is positioned under the mattress, on the base of the bed.
4. The sensorplate is connected to the controller by plugging in the cables
5. The power cord and sensorplate cable are organized to minimize risk of tripping for patients.
After field research, I could conclude that in order to reduce the installation time, the Control Unit would have to change. Eventually this made me question the Control Unit as a necessity. After a lot of critical thinking, I opted for a new approach, where the Control Unit would be integrated into the Sensorplate, creating a cheaper and more user-friendly product.
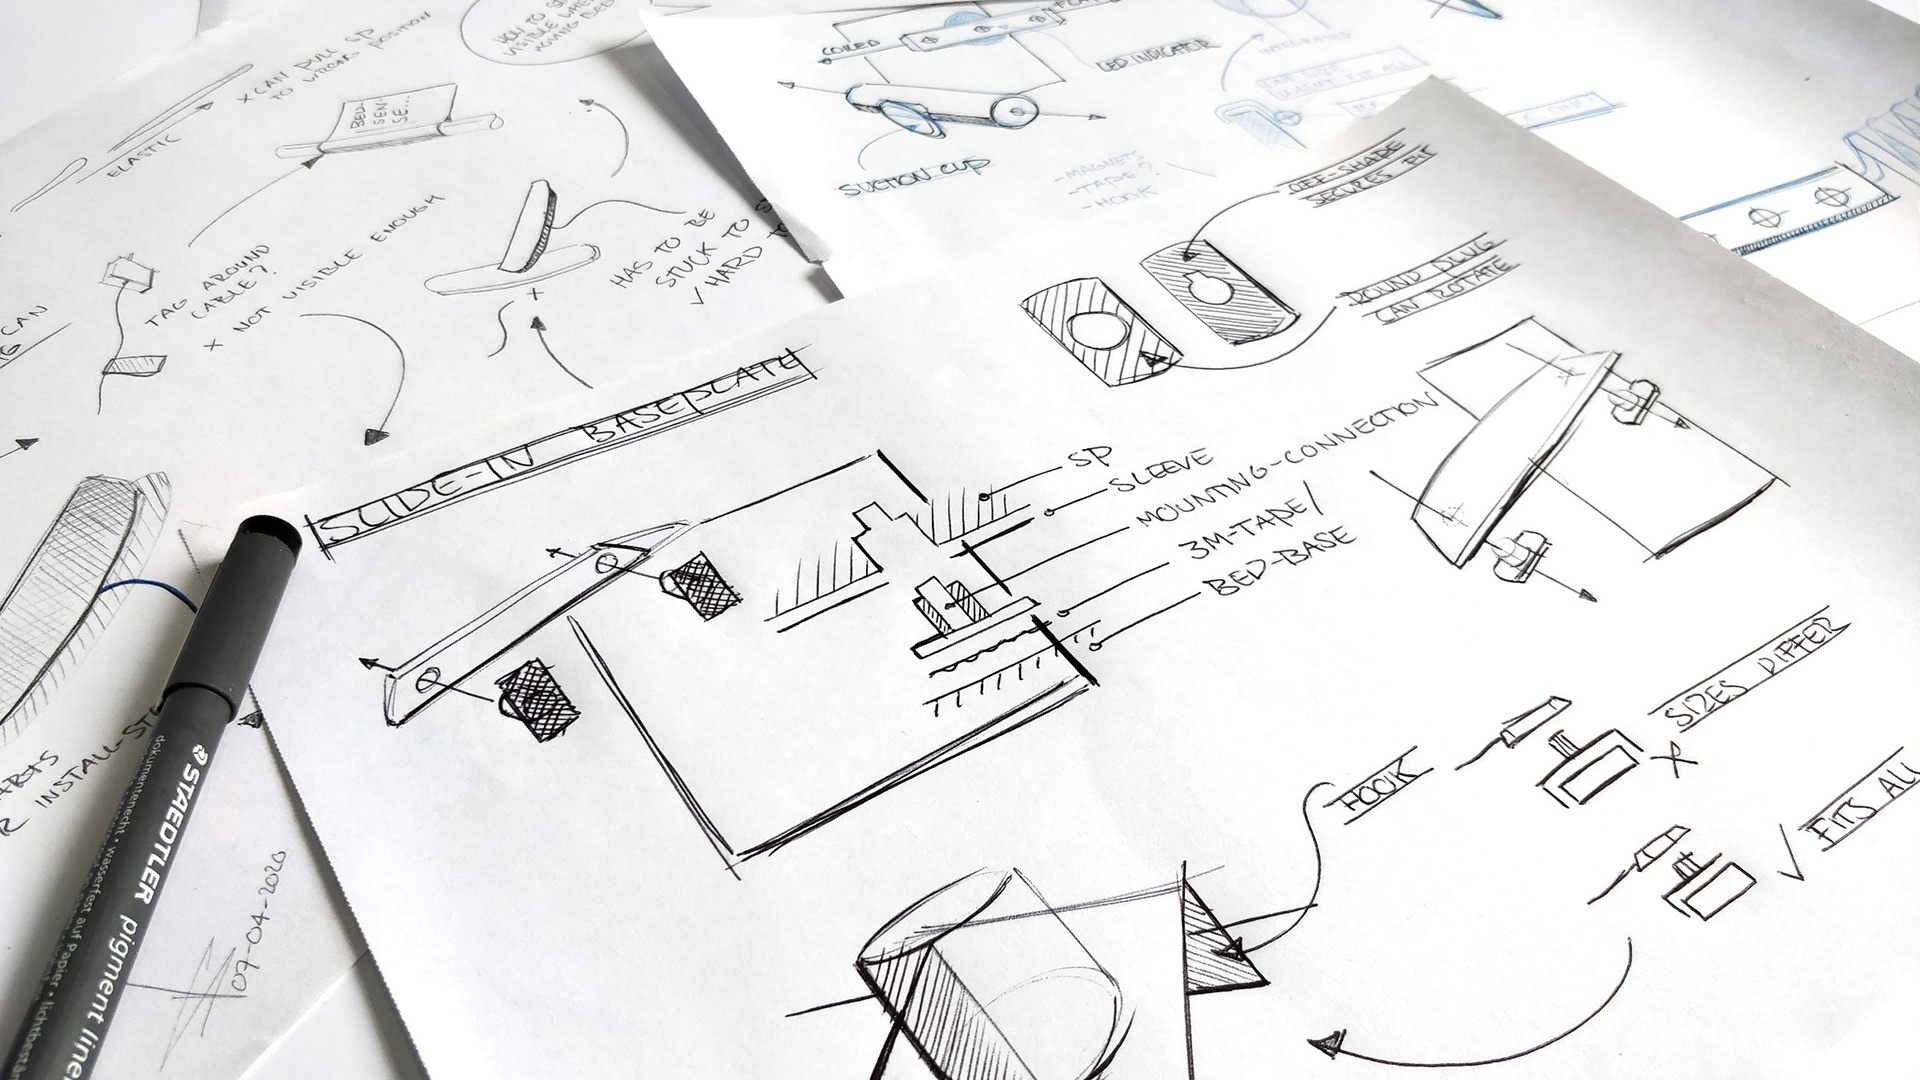
Ideation
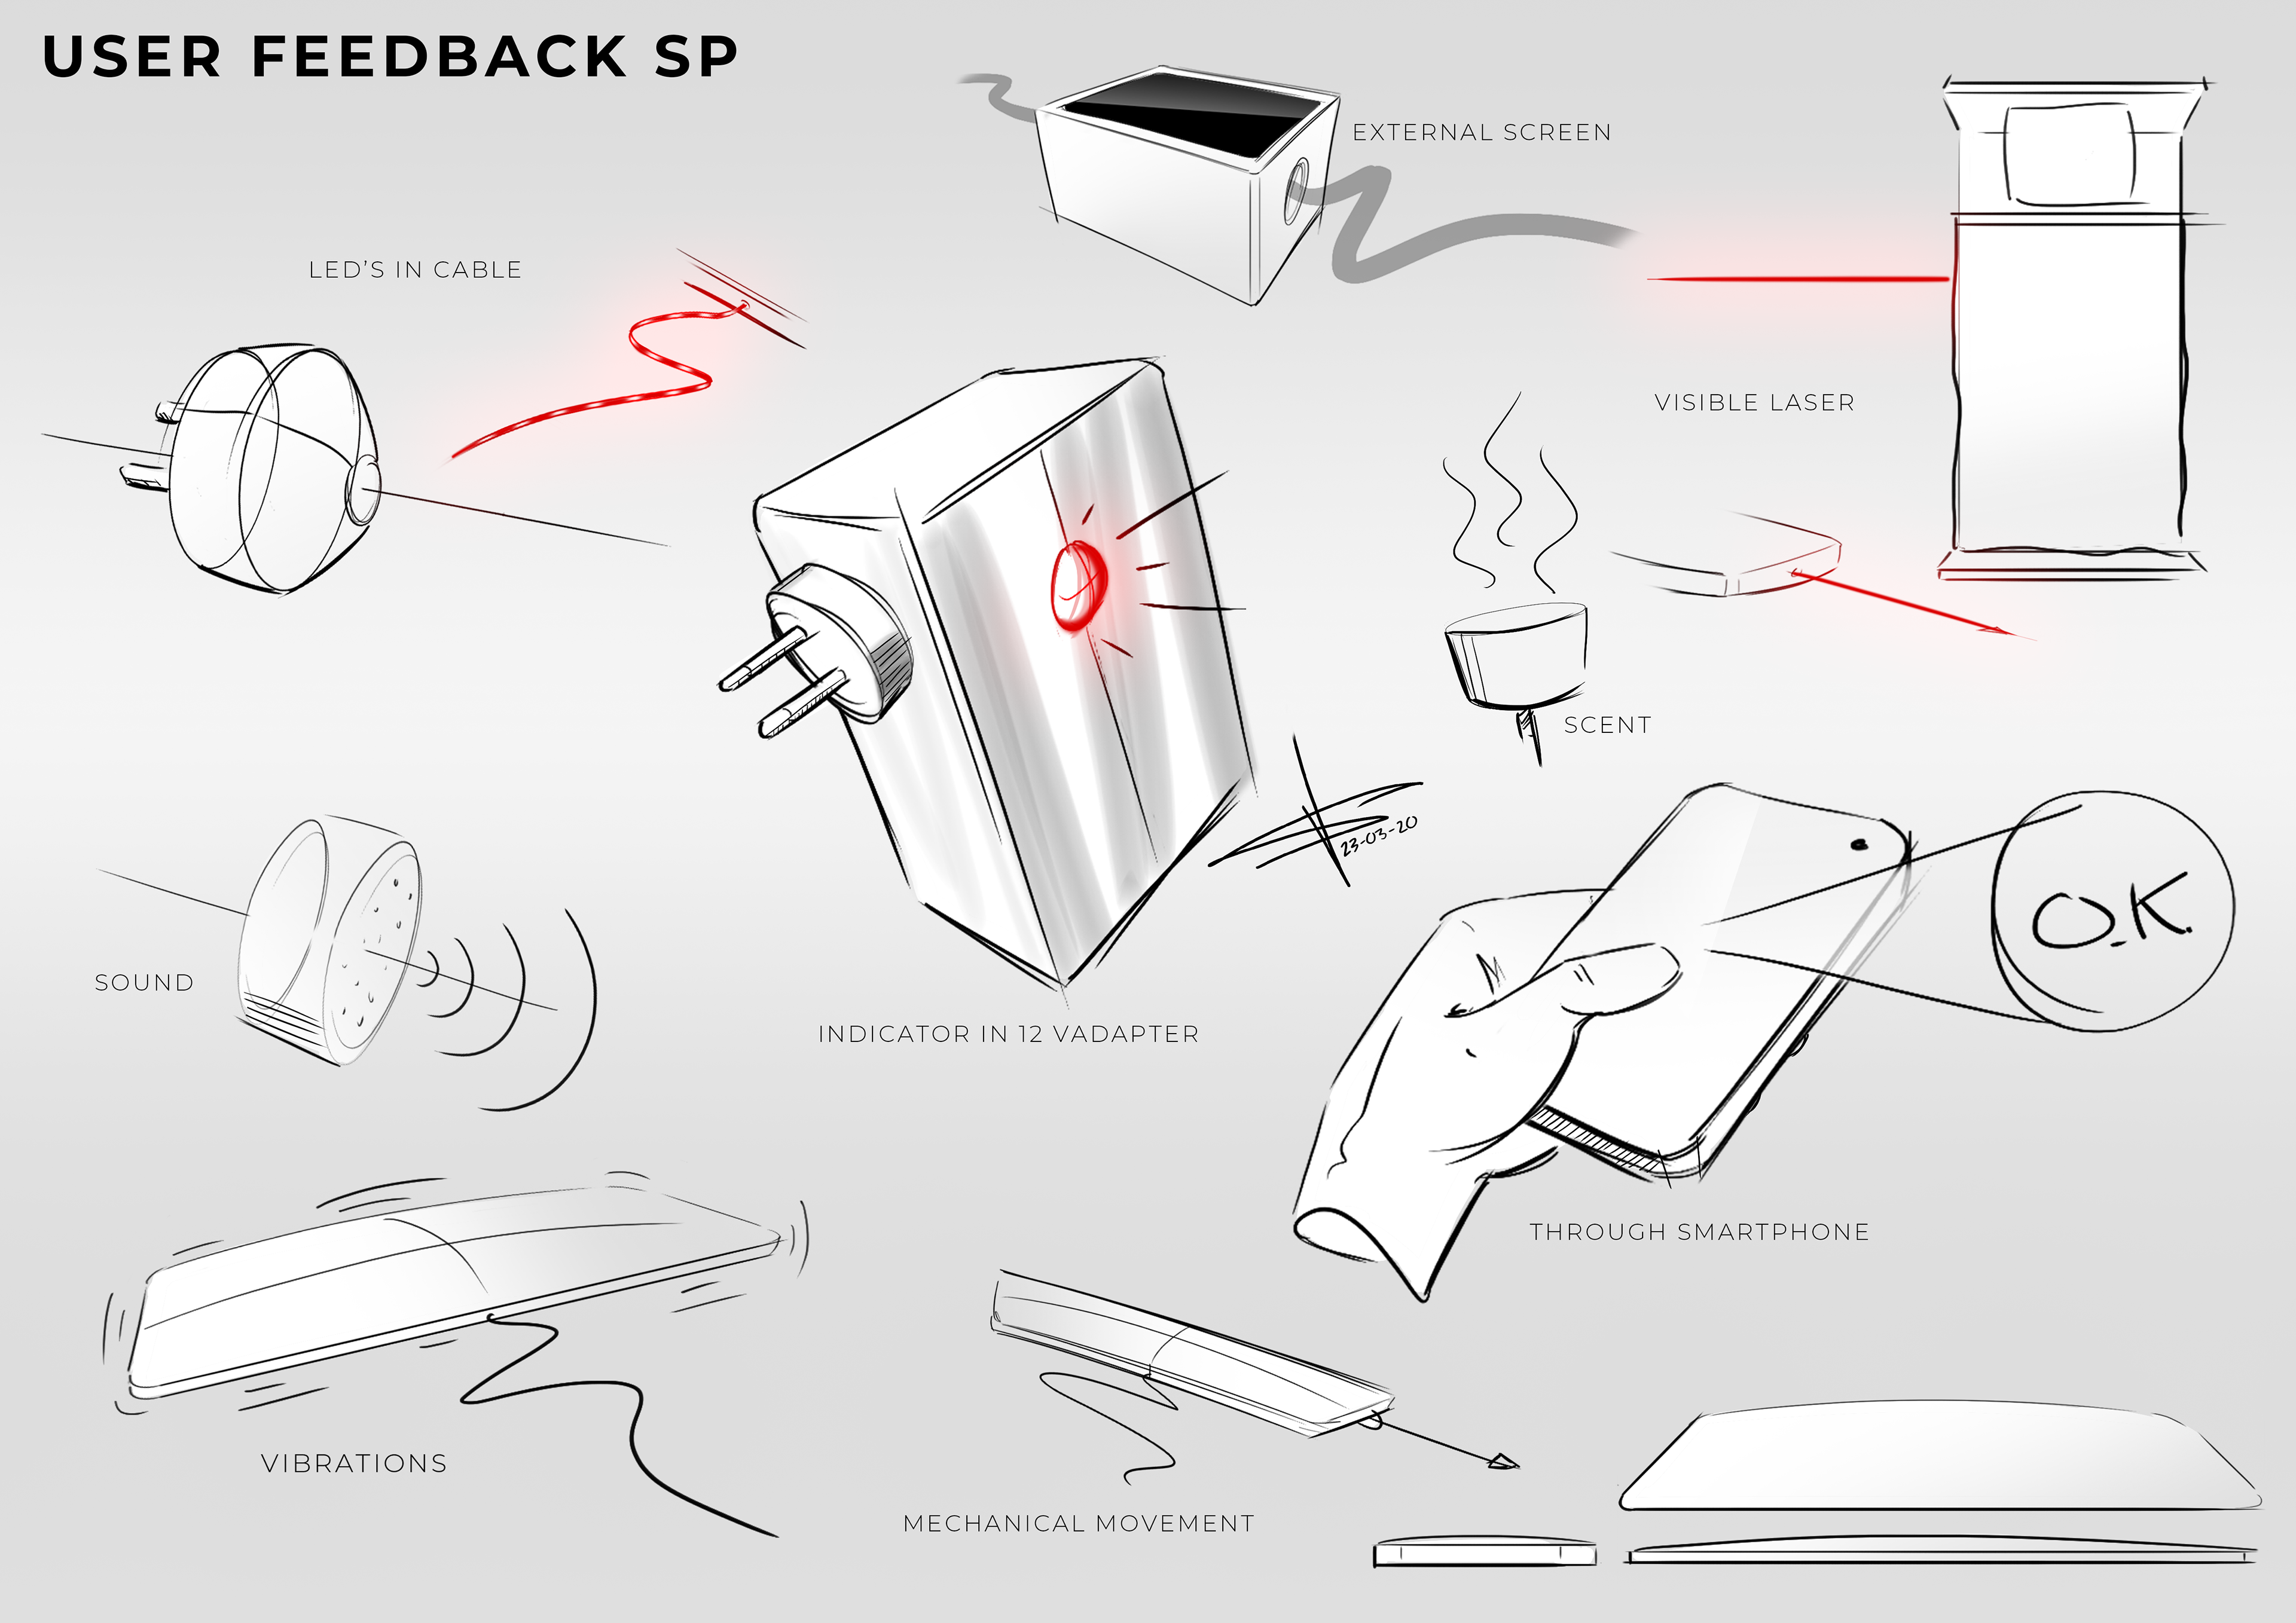
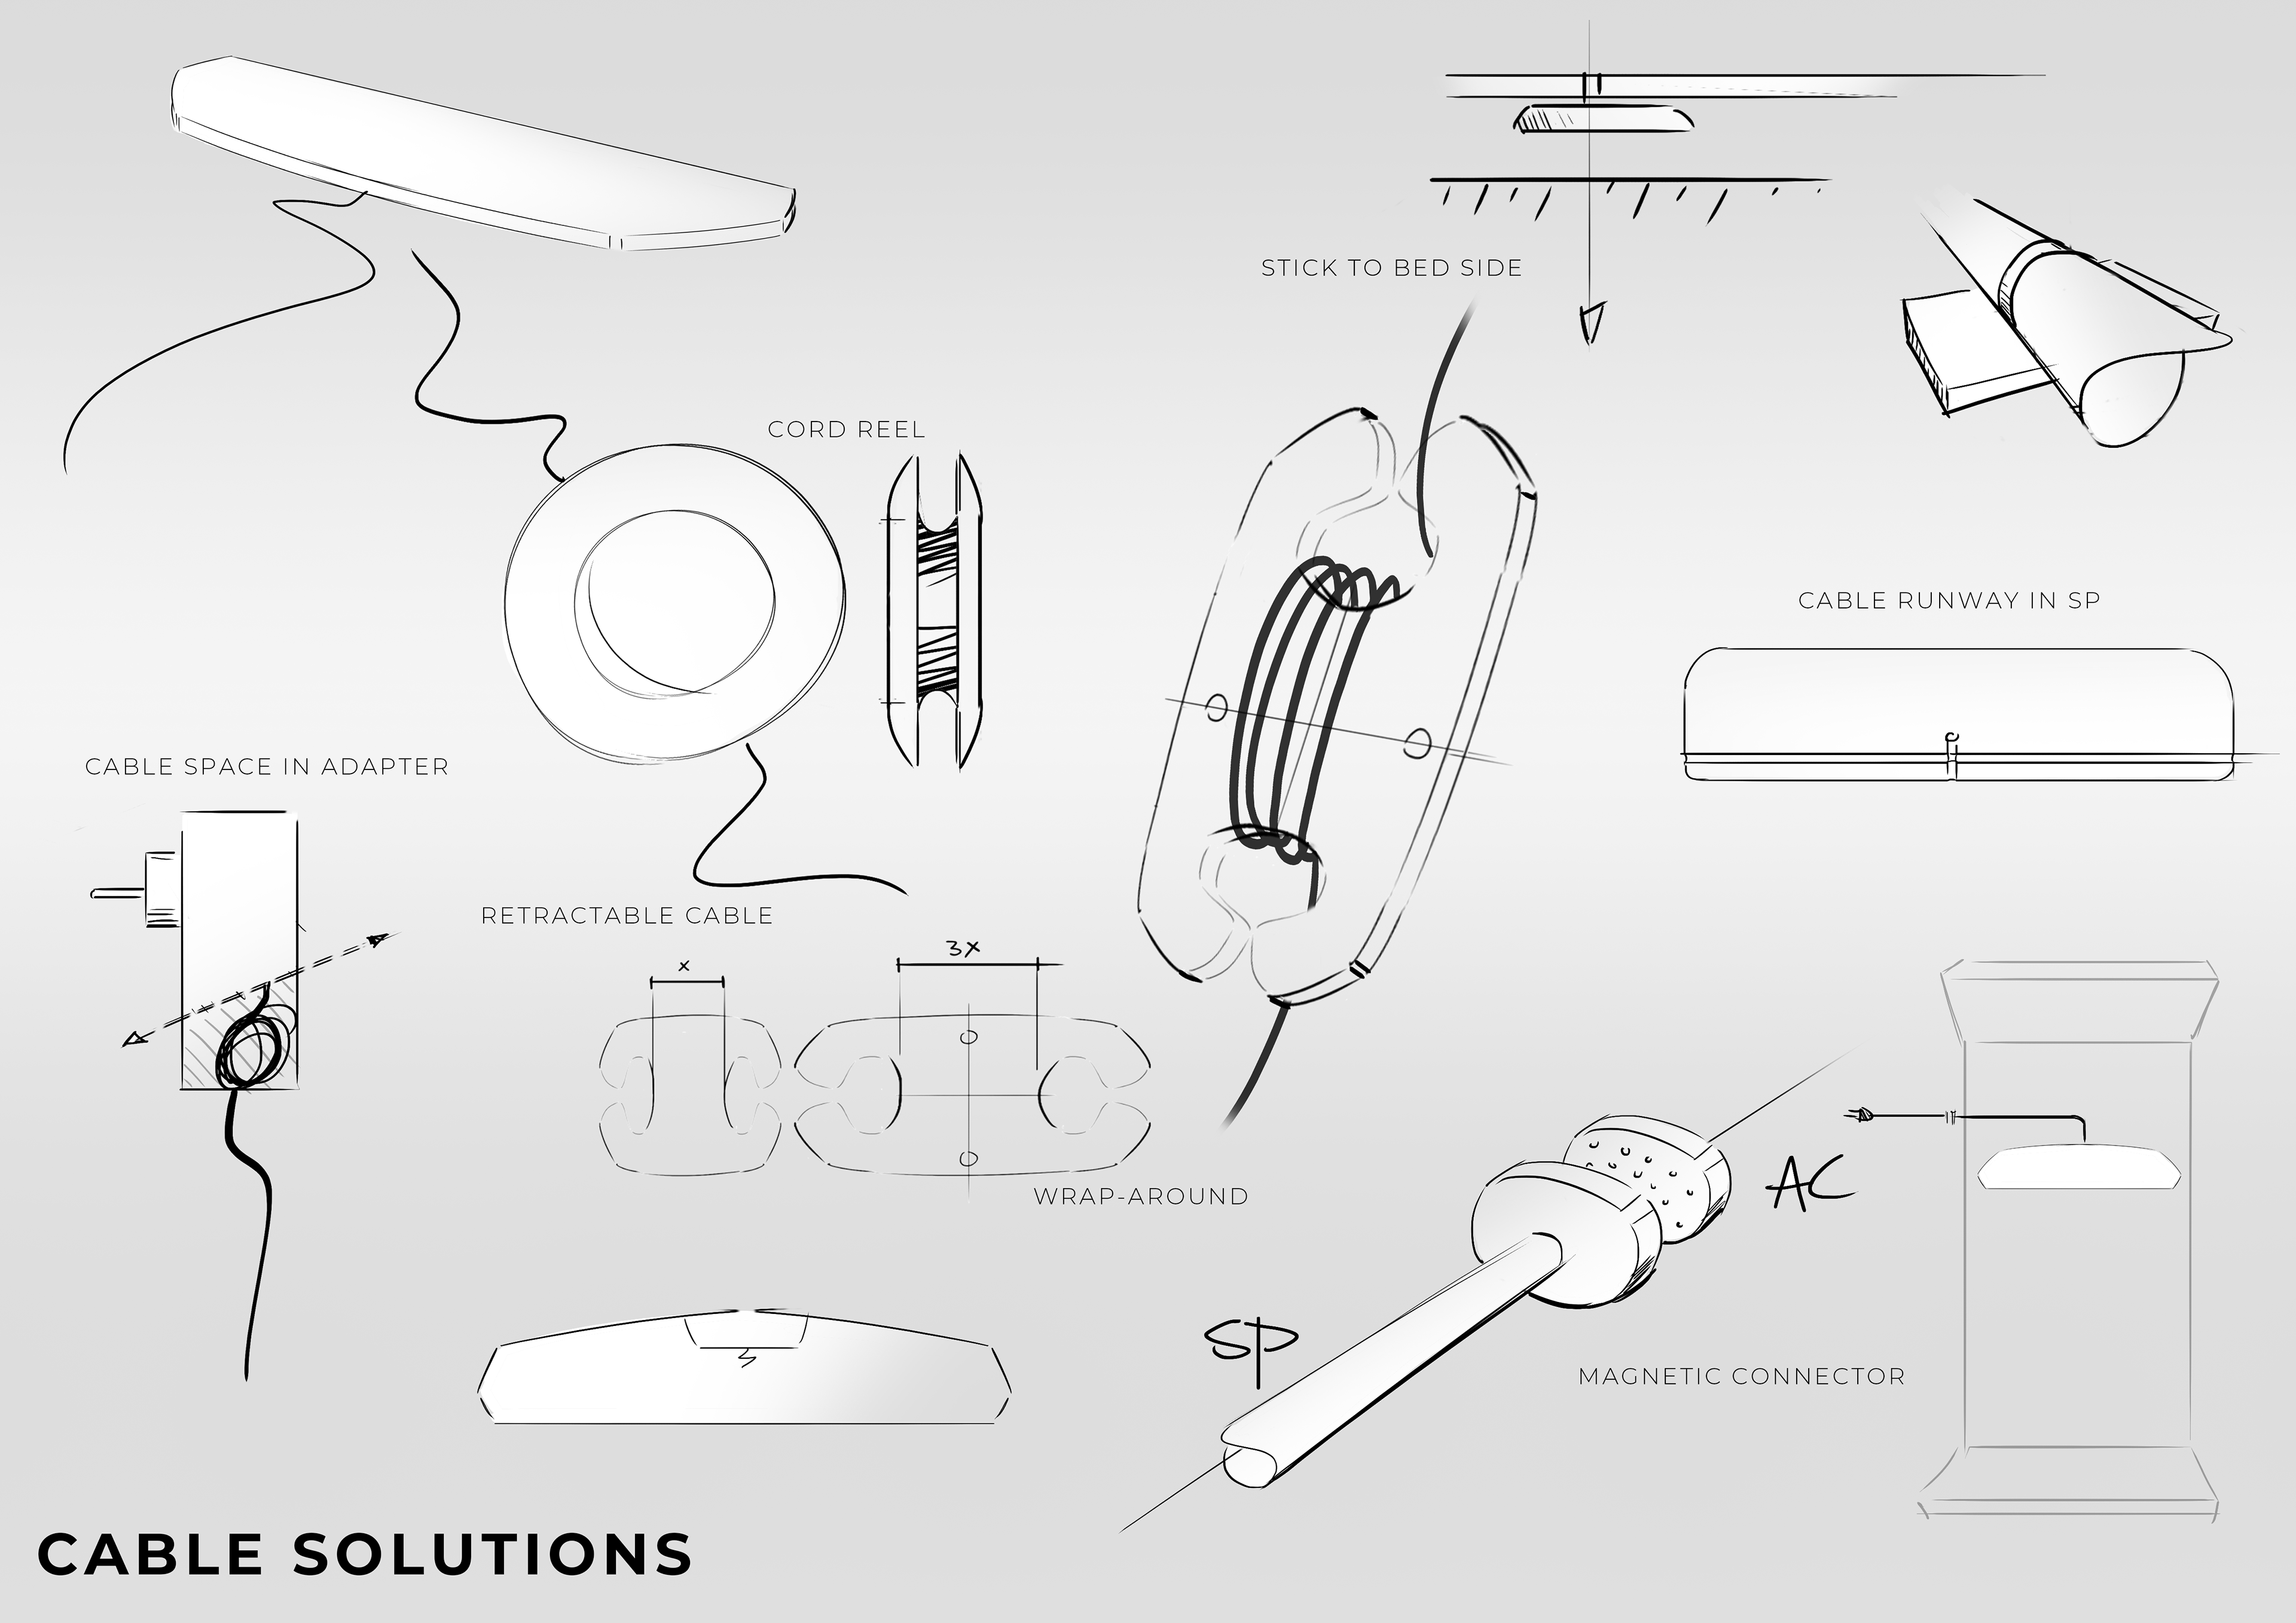
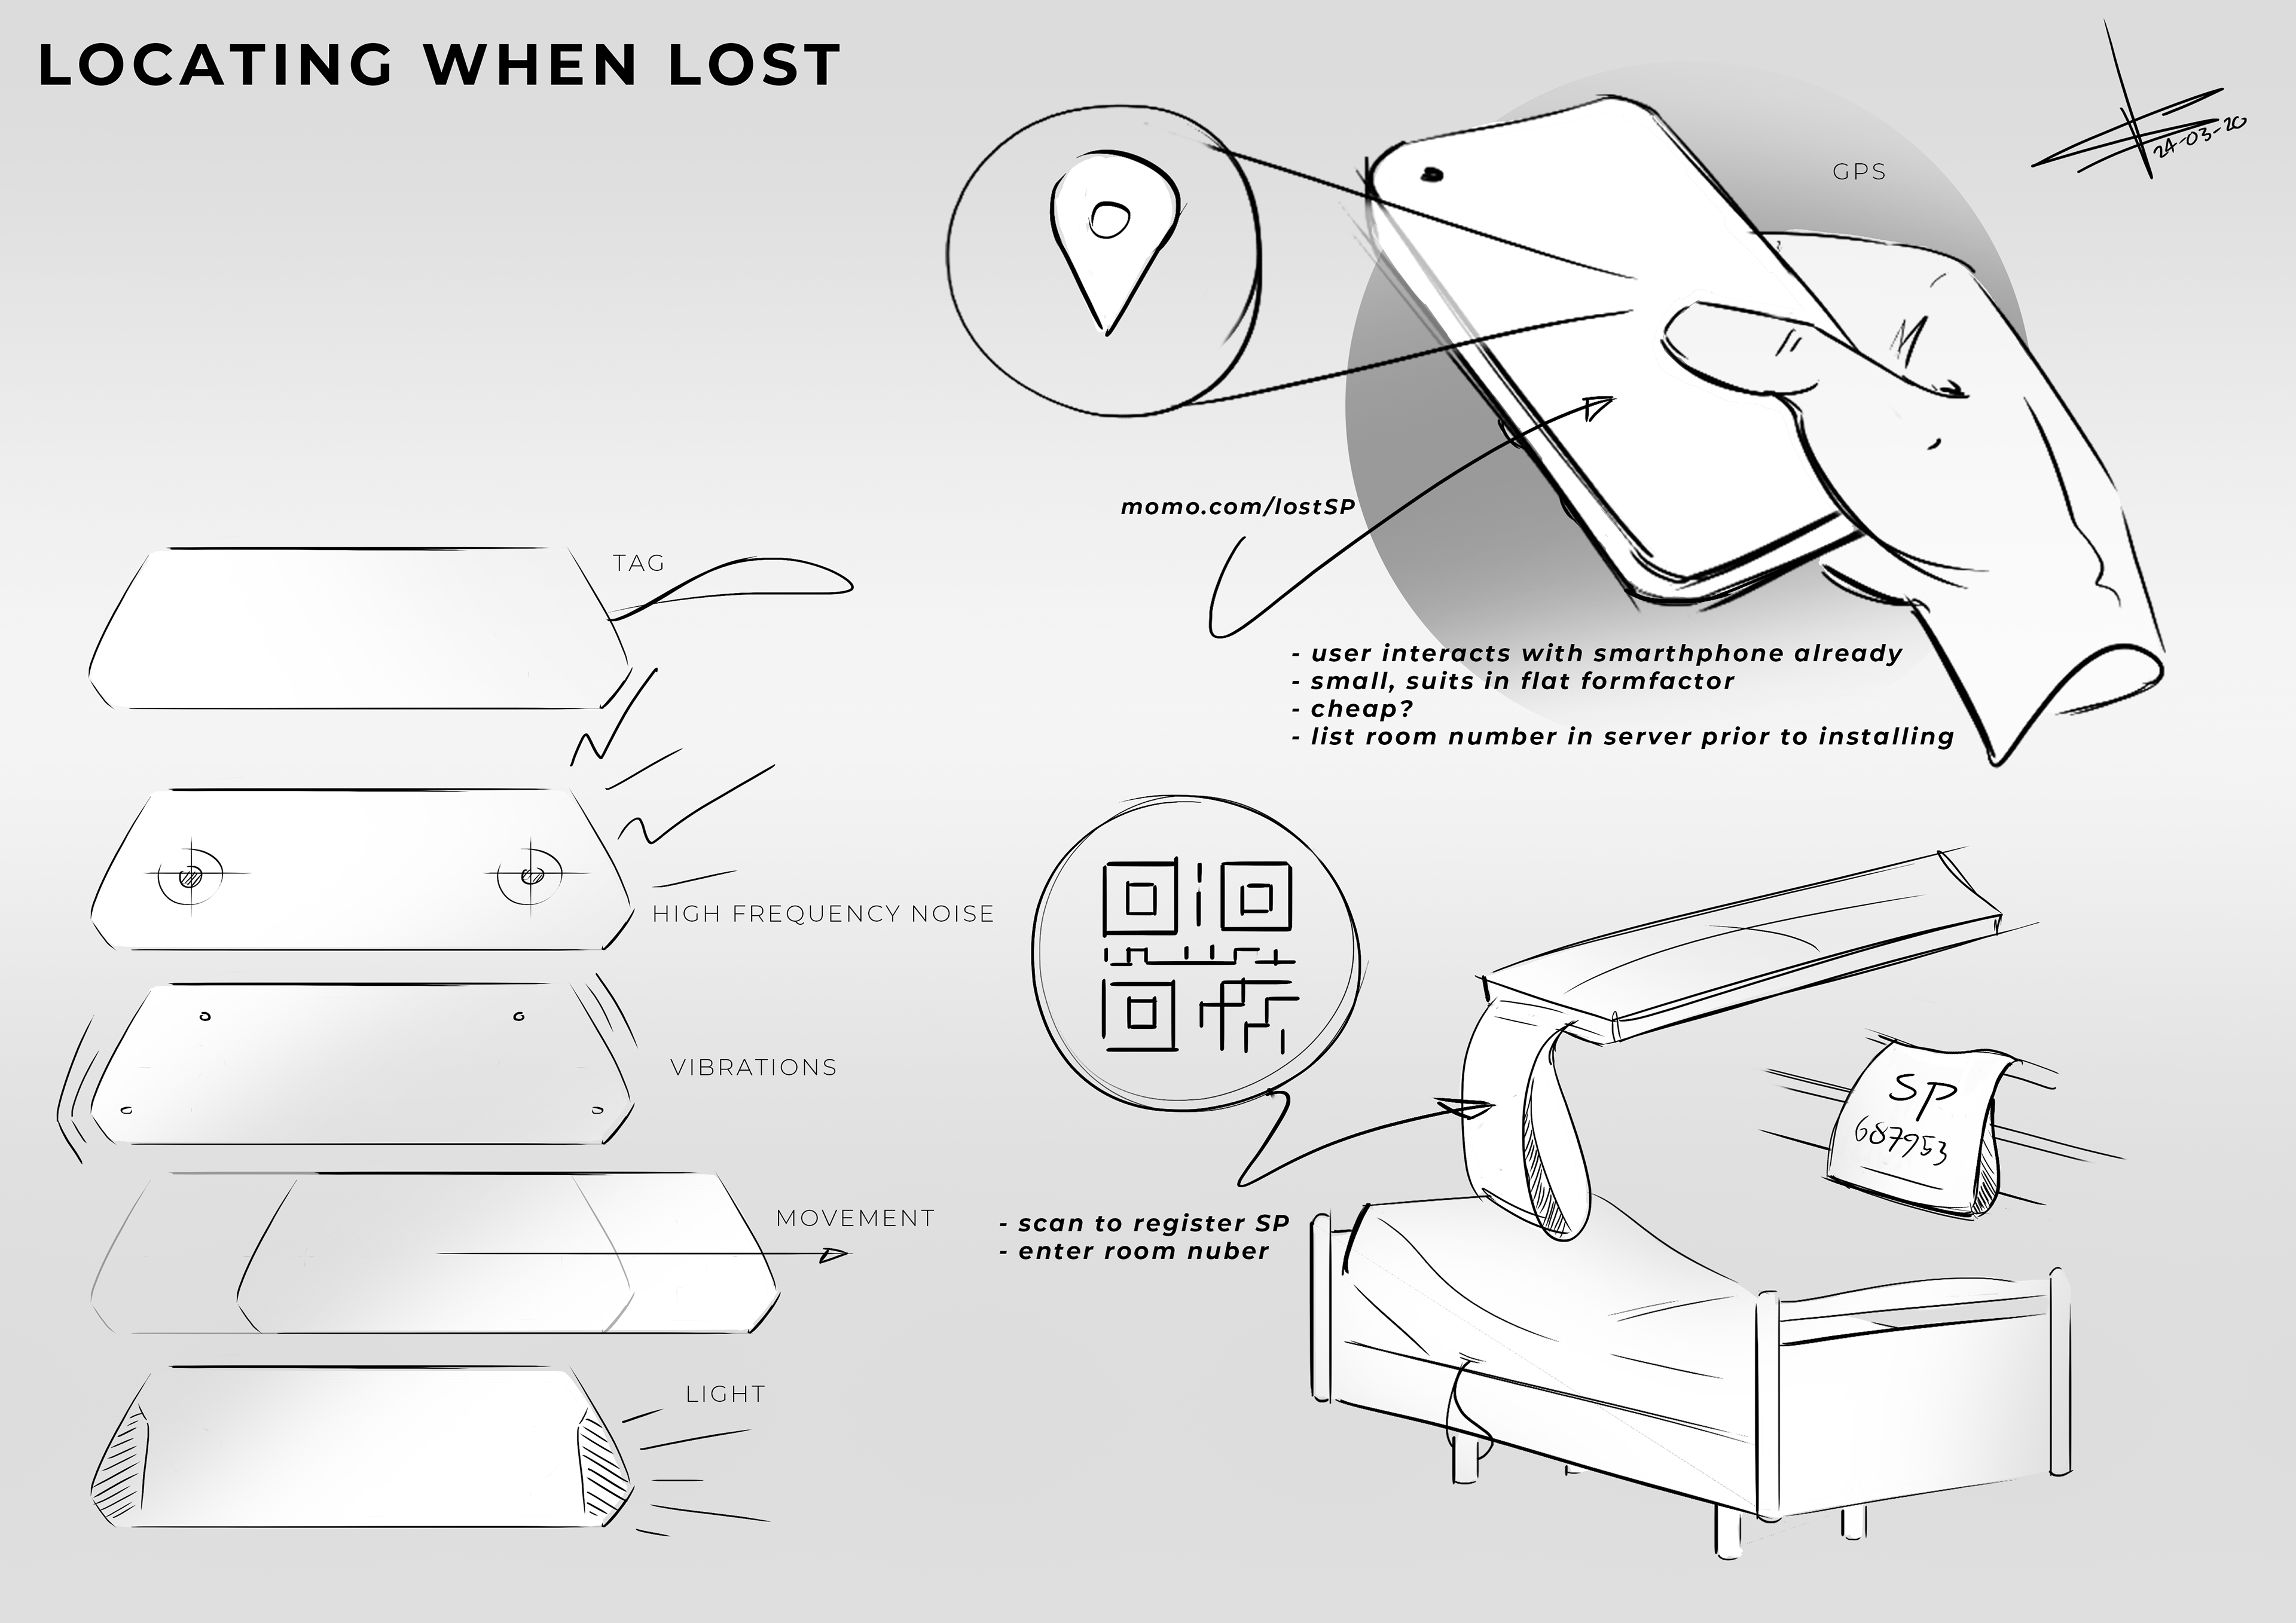
The initial ideation has led me to different ways on how I could tackle the main problems of integrating the Control Unit into the Sensorplate; "How does one interact with a product that is out of sight?", "How does one prevent the products from being lost" (when relocating beds in nursing homes), and "How can the strength and usability of the power cable be improved?" During the ideation phase it became clear that in order to have a solid and pleasant user experience, the product would need to communicate with the user's smartphone.
Look & Feel
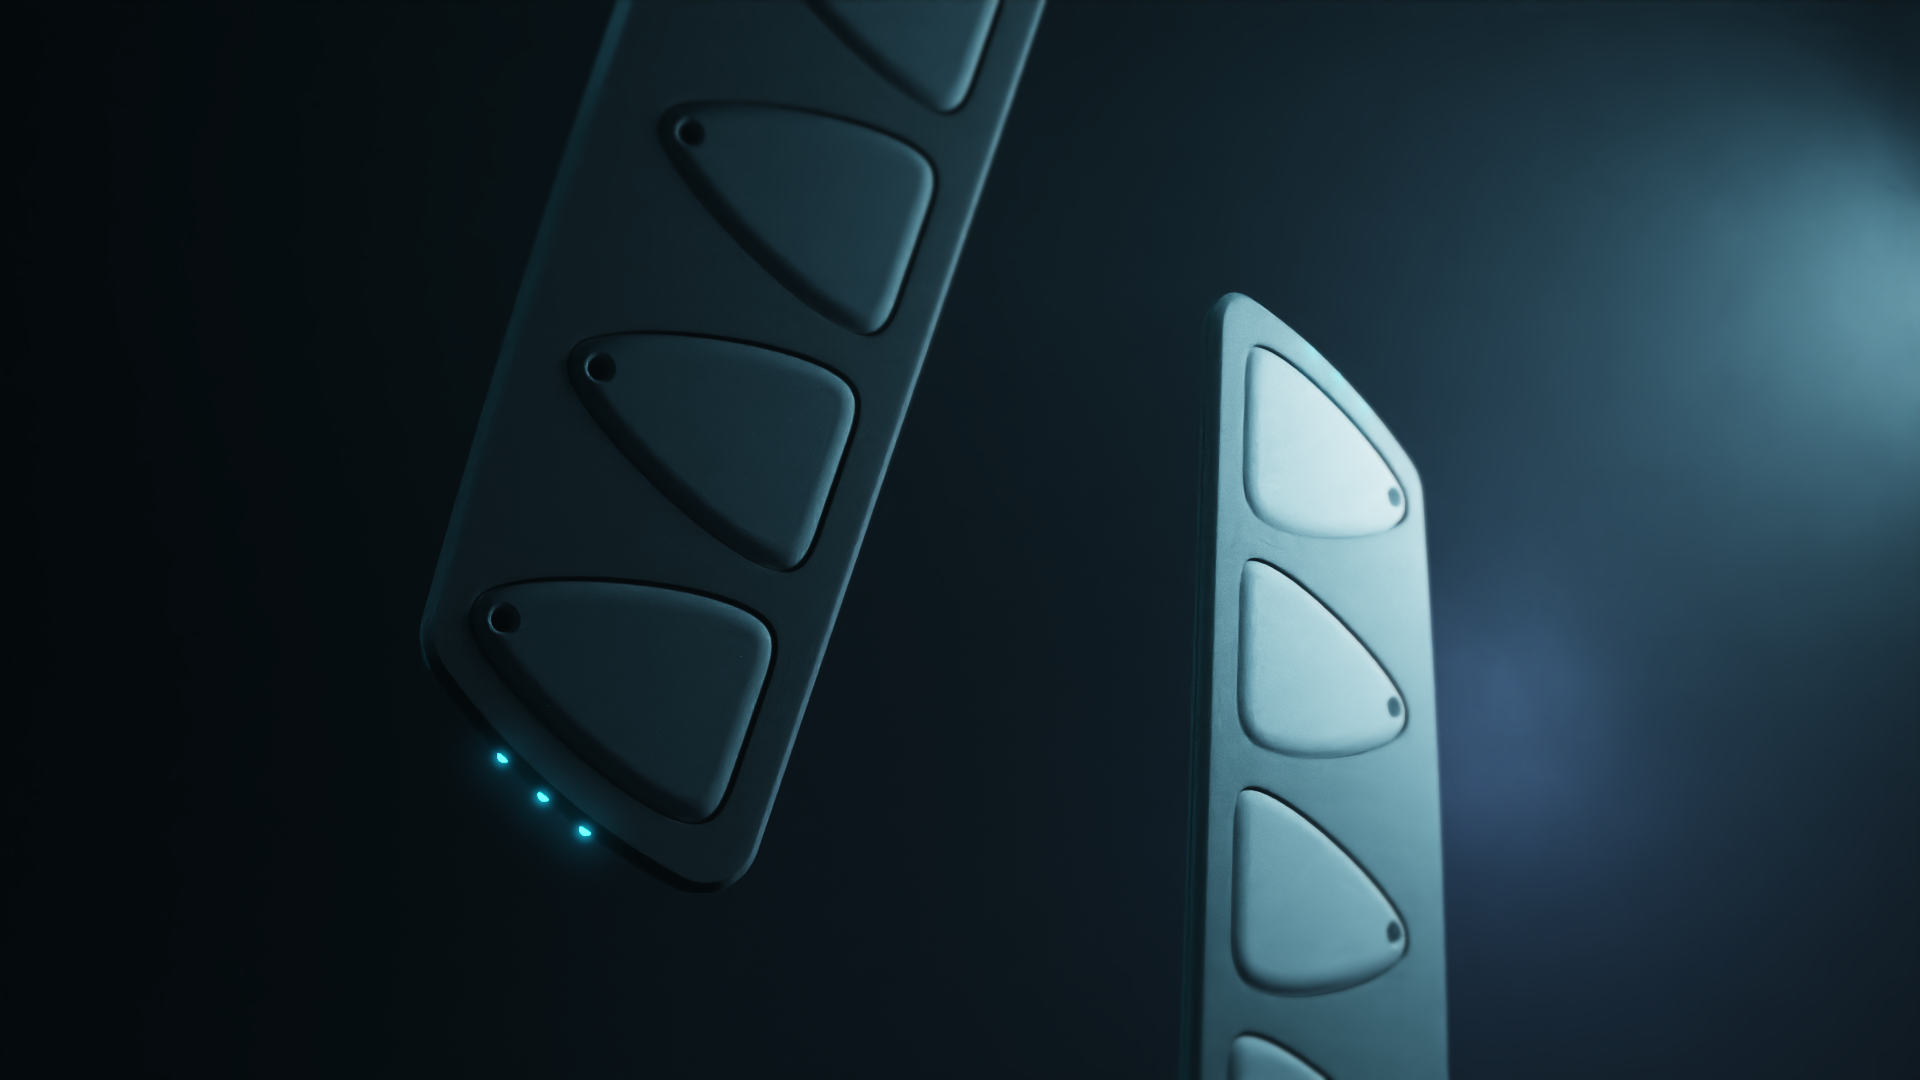
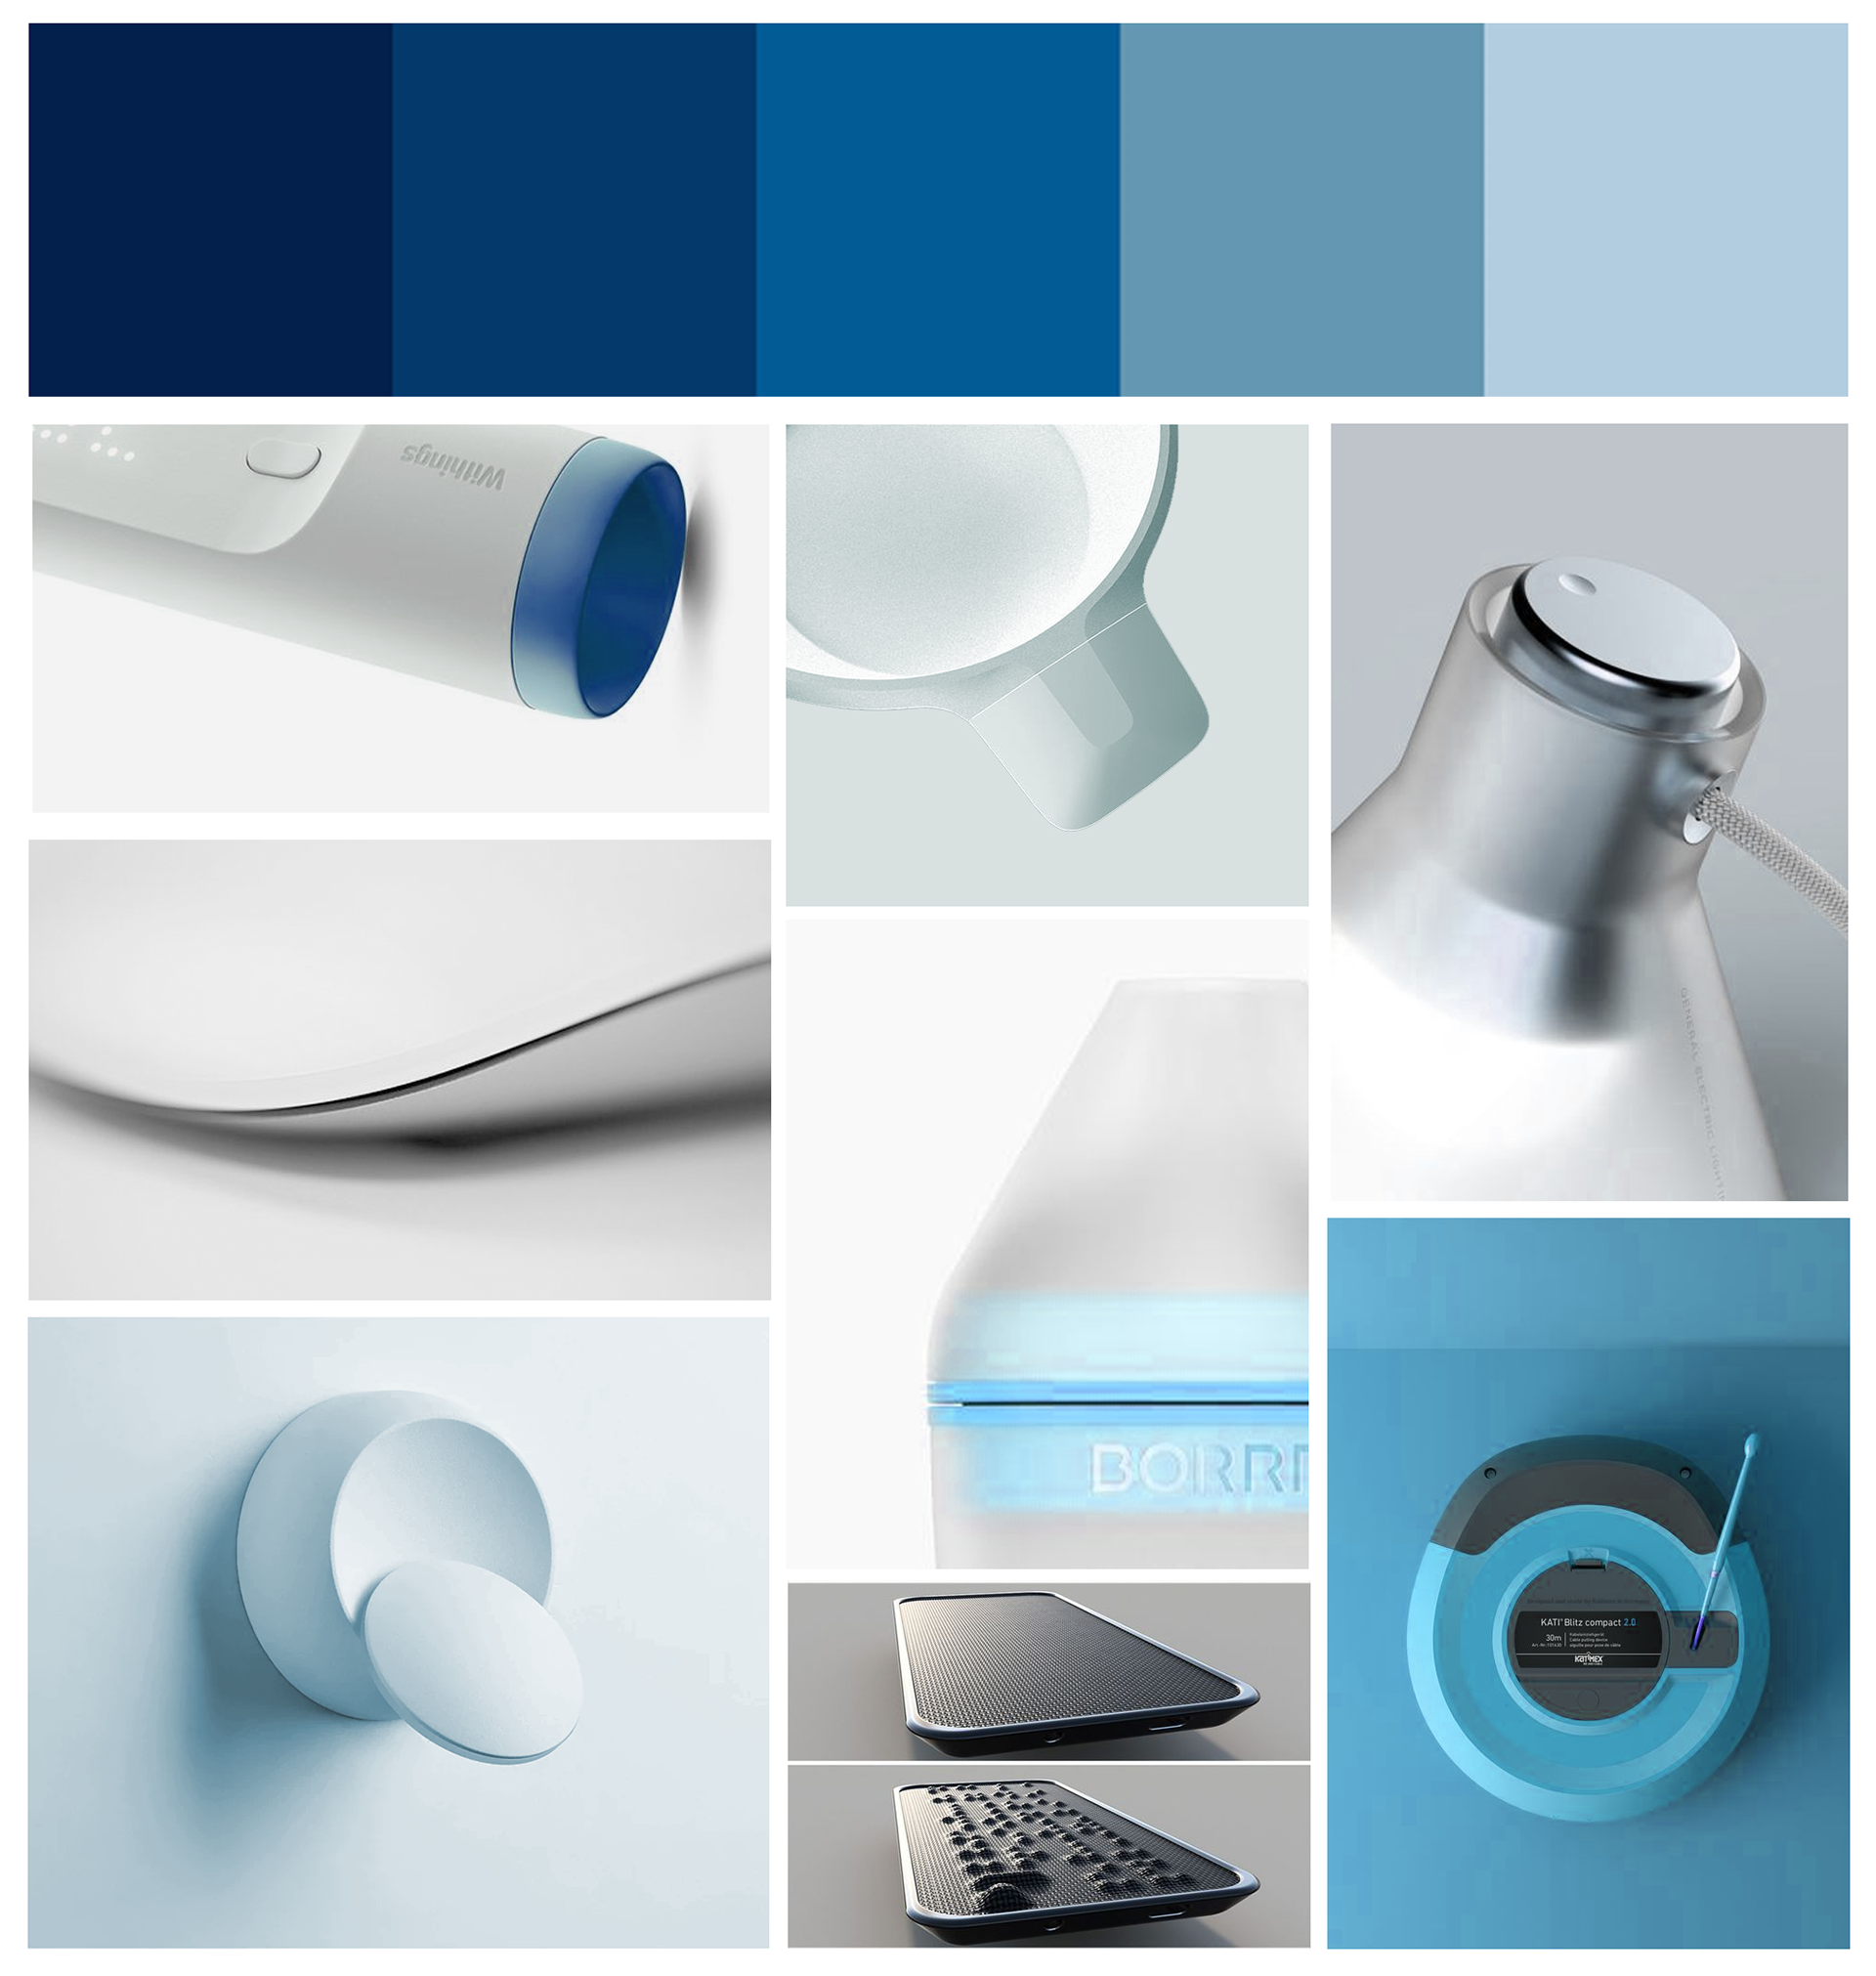
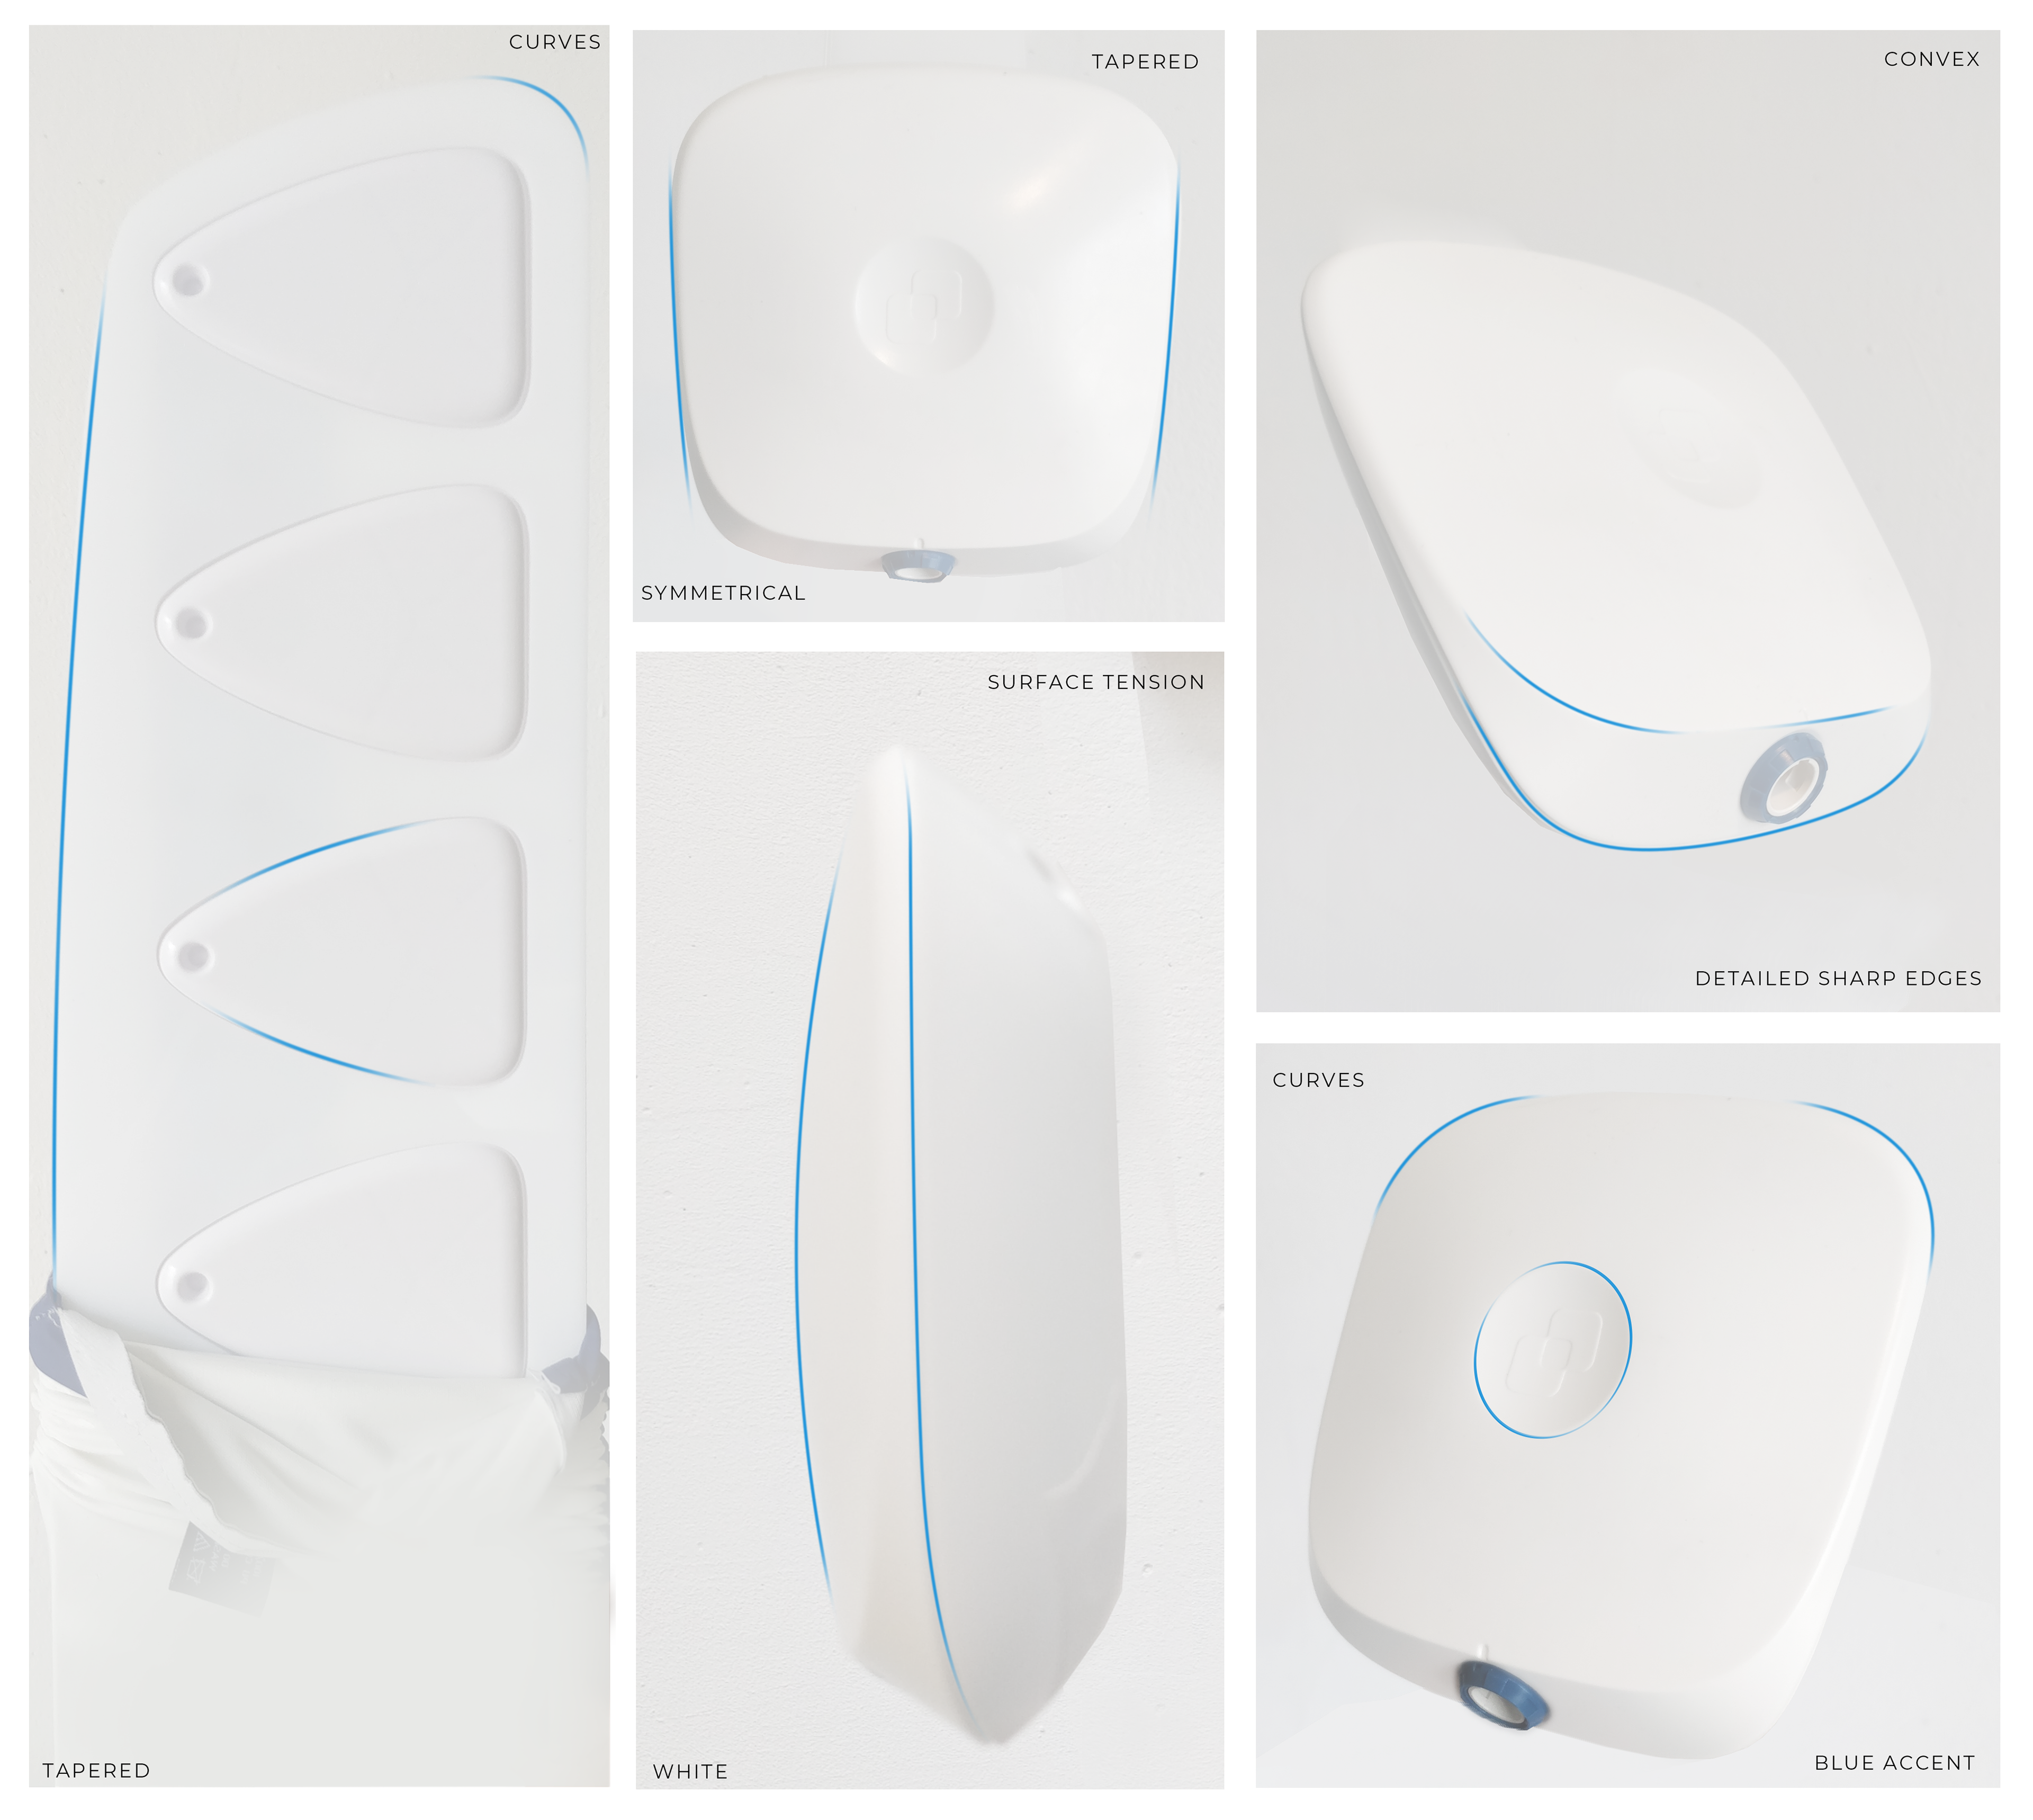
In order to make the appearance of the new Sensorplate match with the Control Unit, the Look & Feel of the product has been analyzed. In addition, a moodboard has been made to reflect on the direction and general vibe of the redesign. Key properties that came to mind are subtle surface transitions, surface tension, and sharp lines in combination with a general soft appearance.

Conceptualization
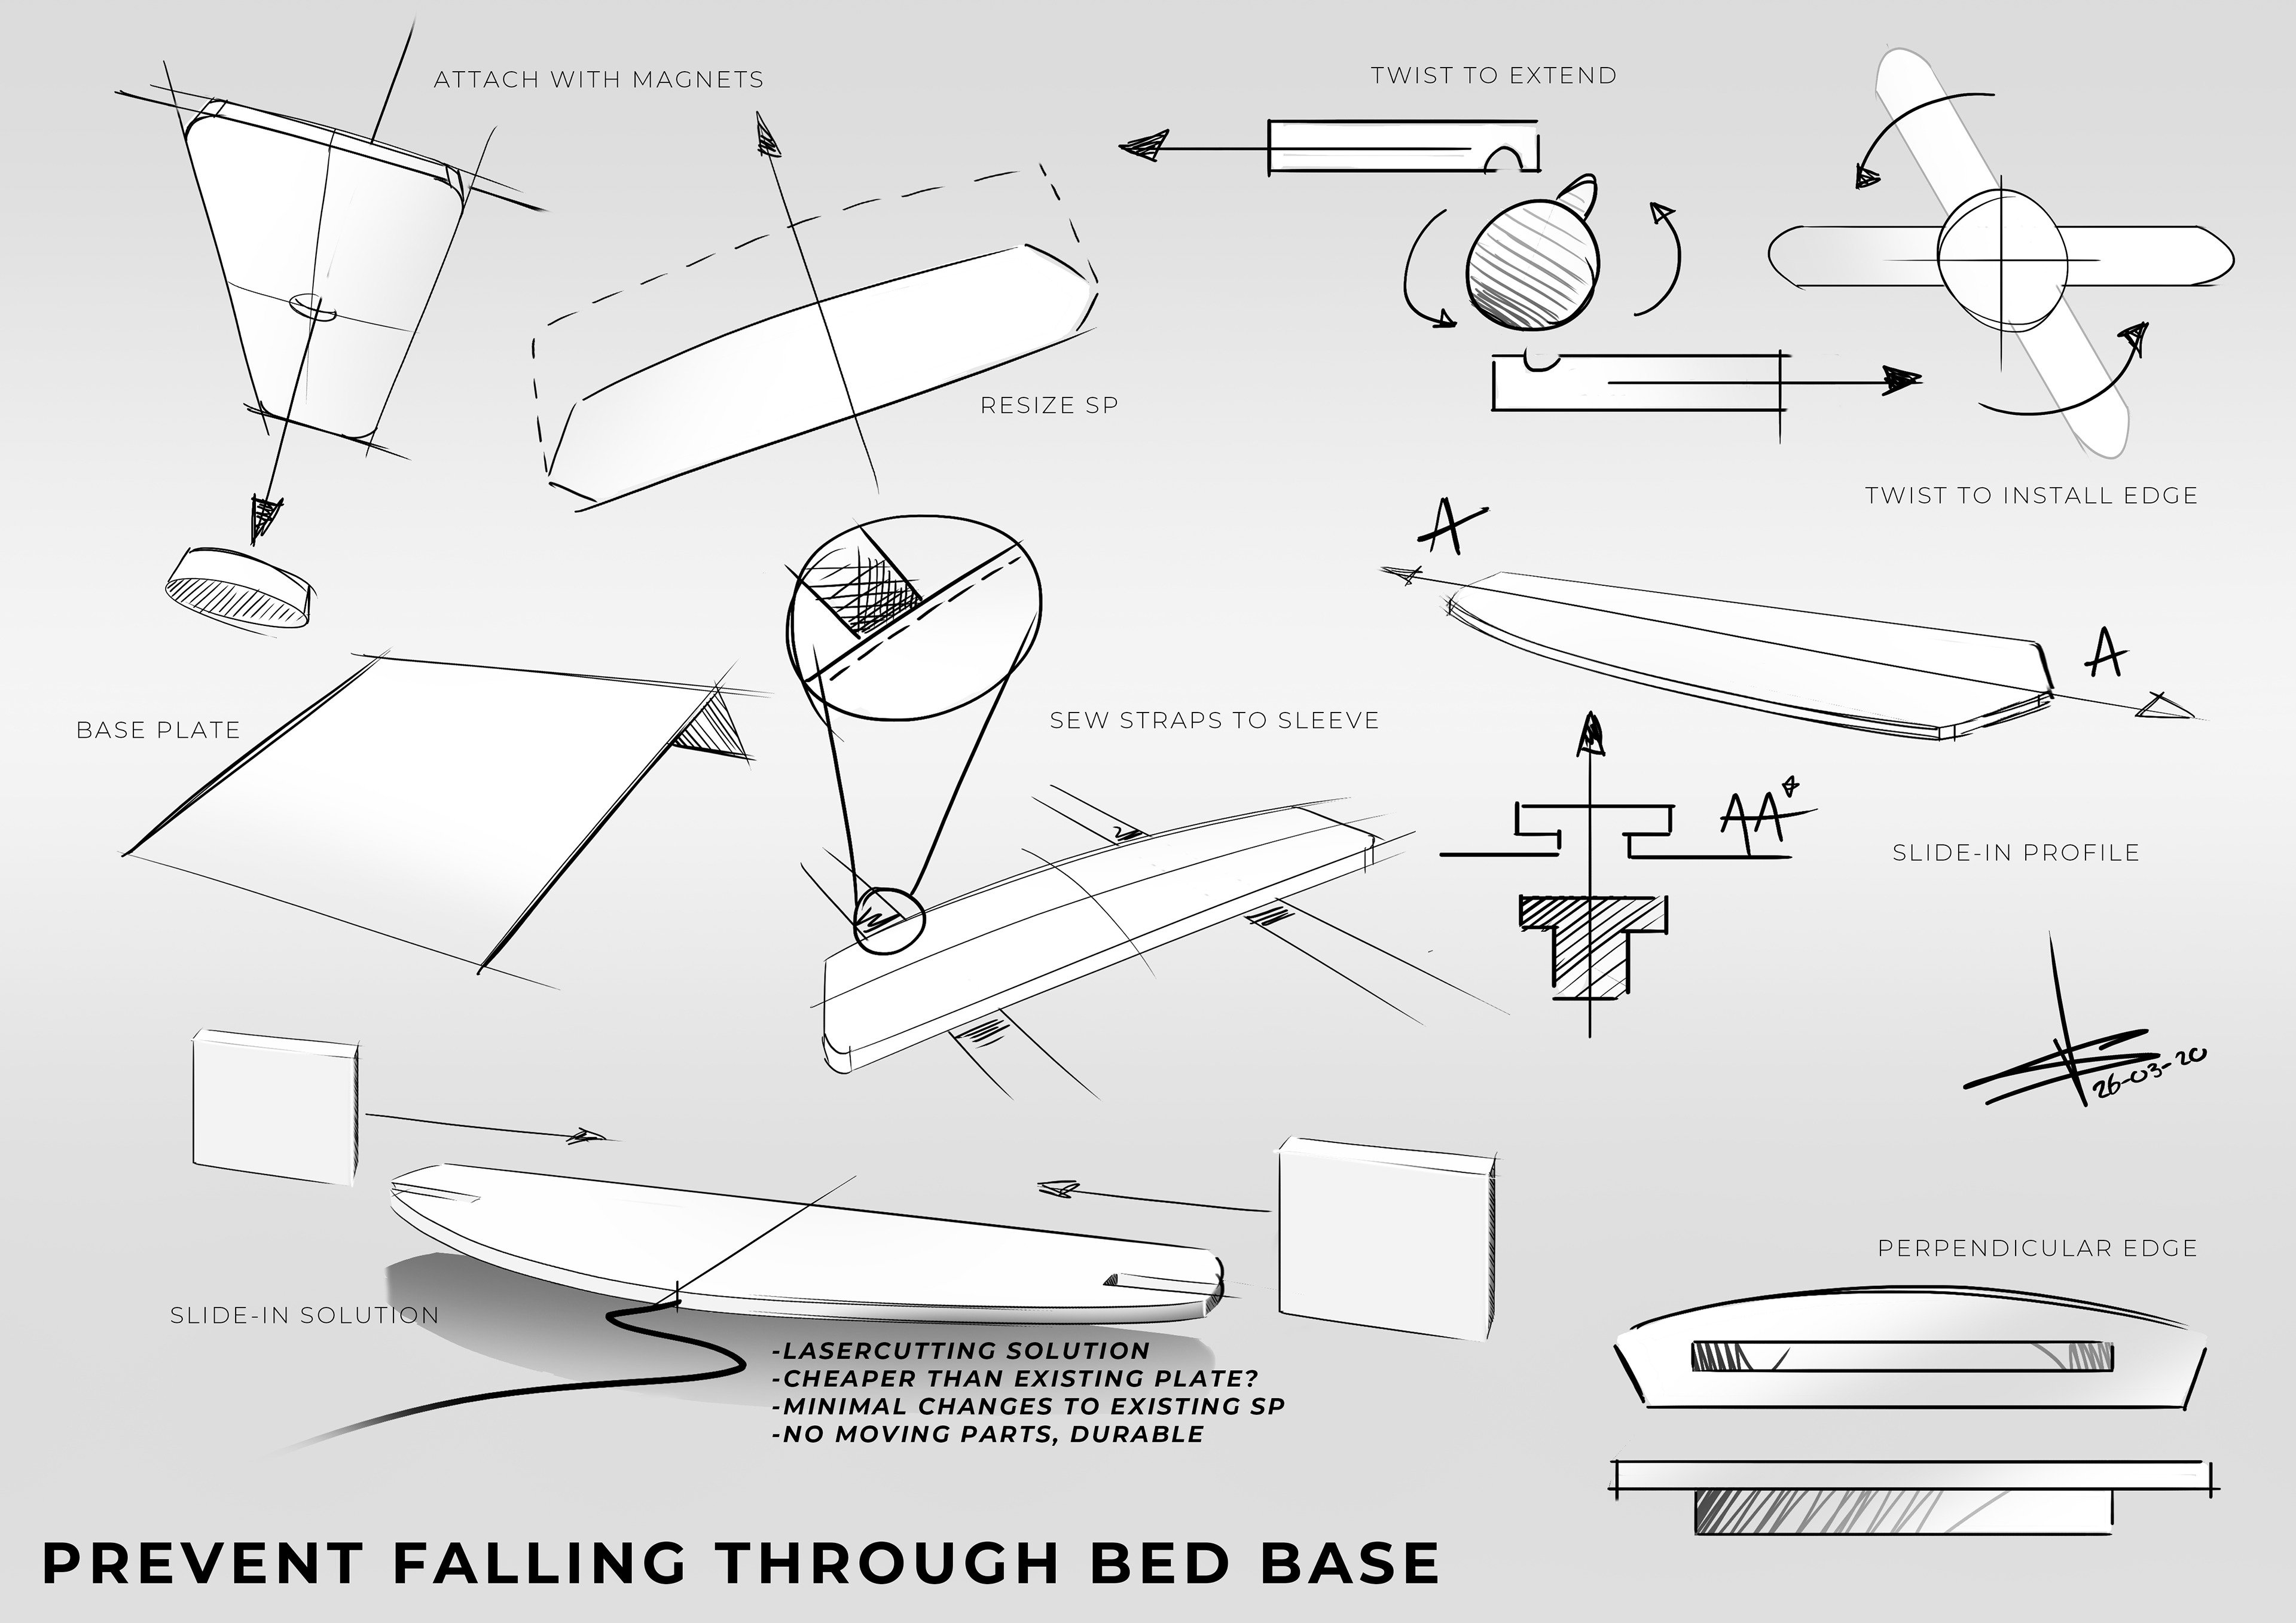
At the beginning of the concept phase, it was important to further iterate on the established ideas, since the chosen ideas are global directions, and are not definite. After the global ideas and solutions had been refined, I proceeded to test possible solutions through various testing methods. 3D prints have been made, more user testing has been done etc.
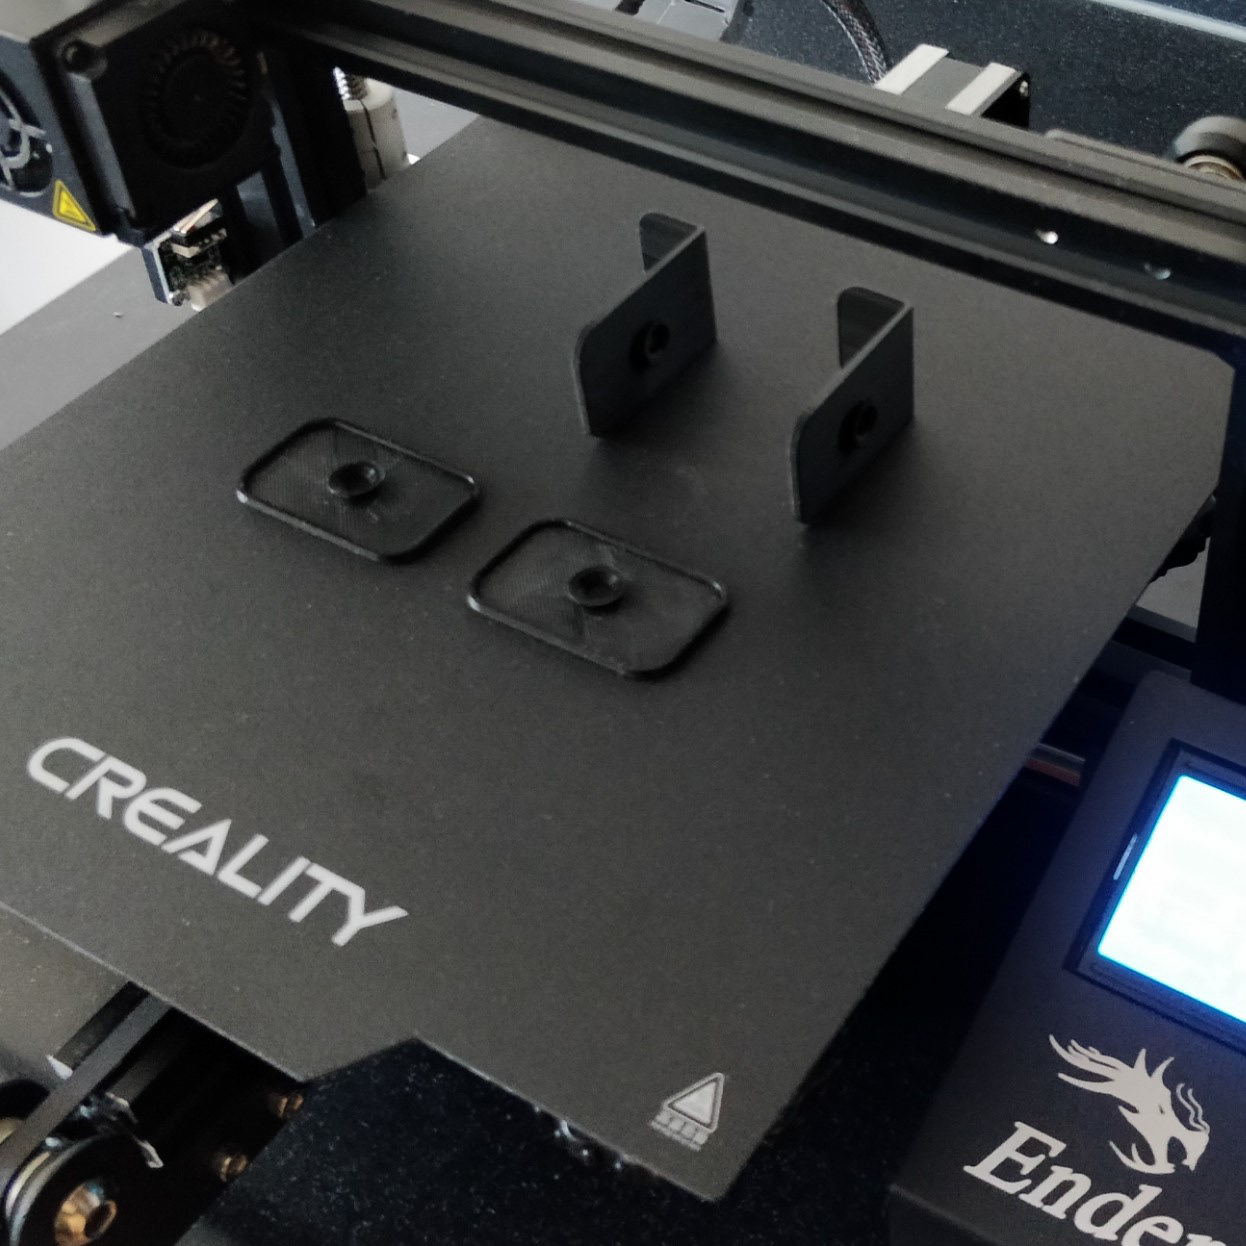
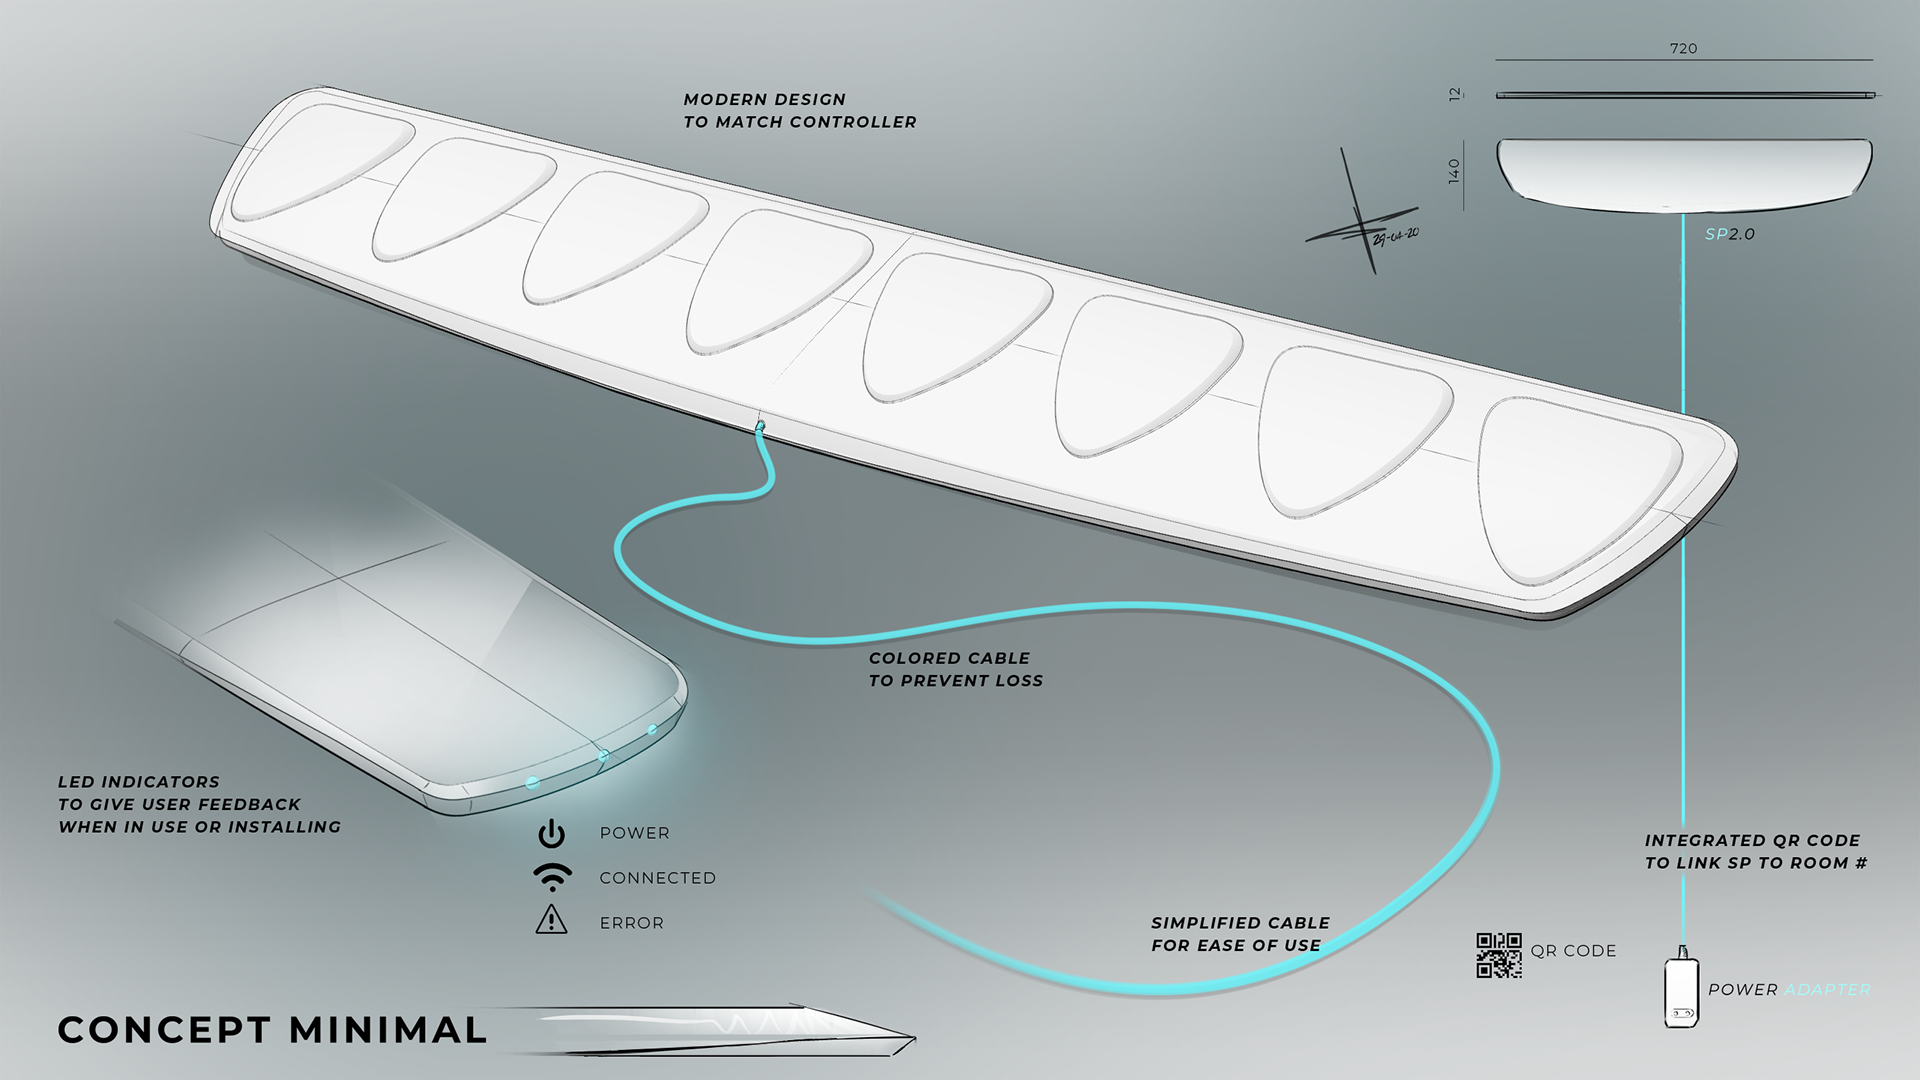
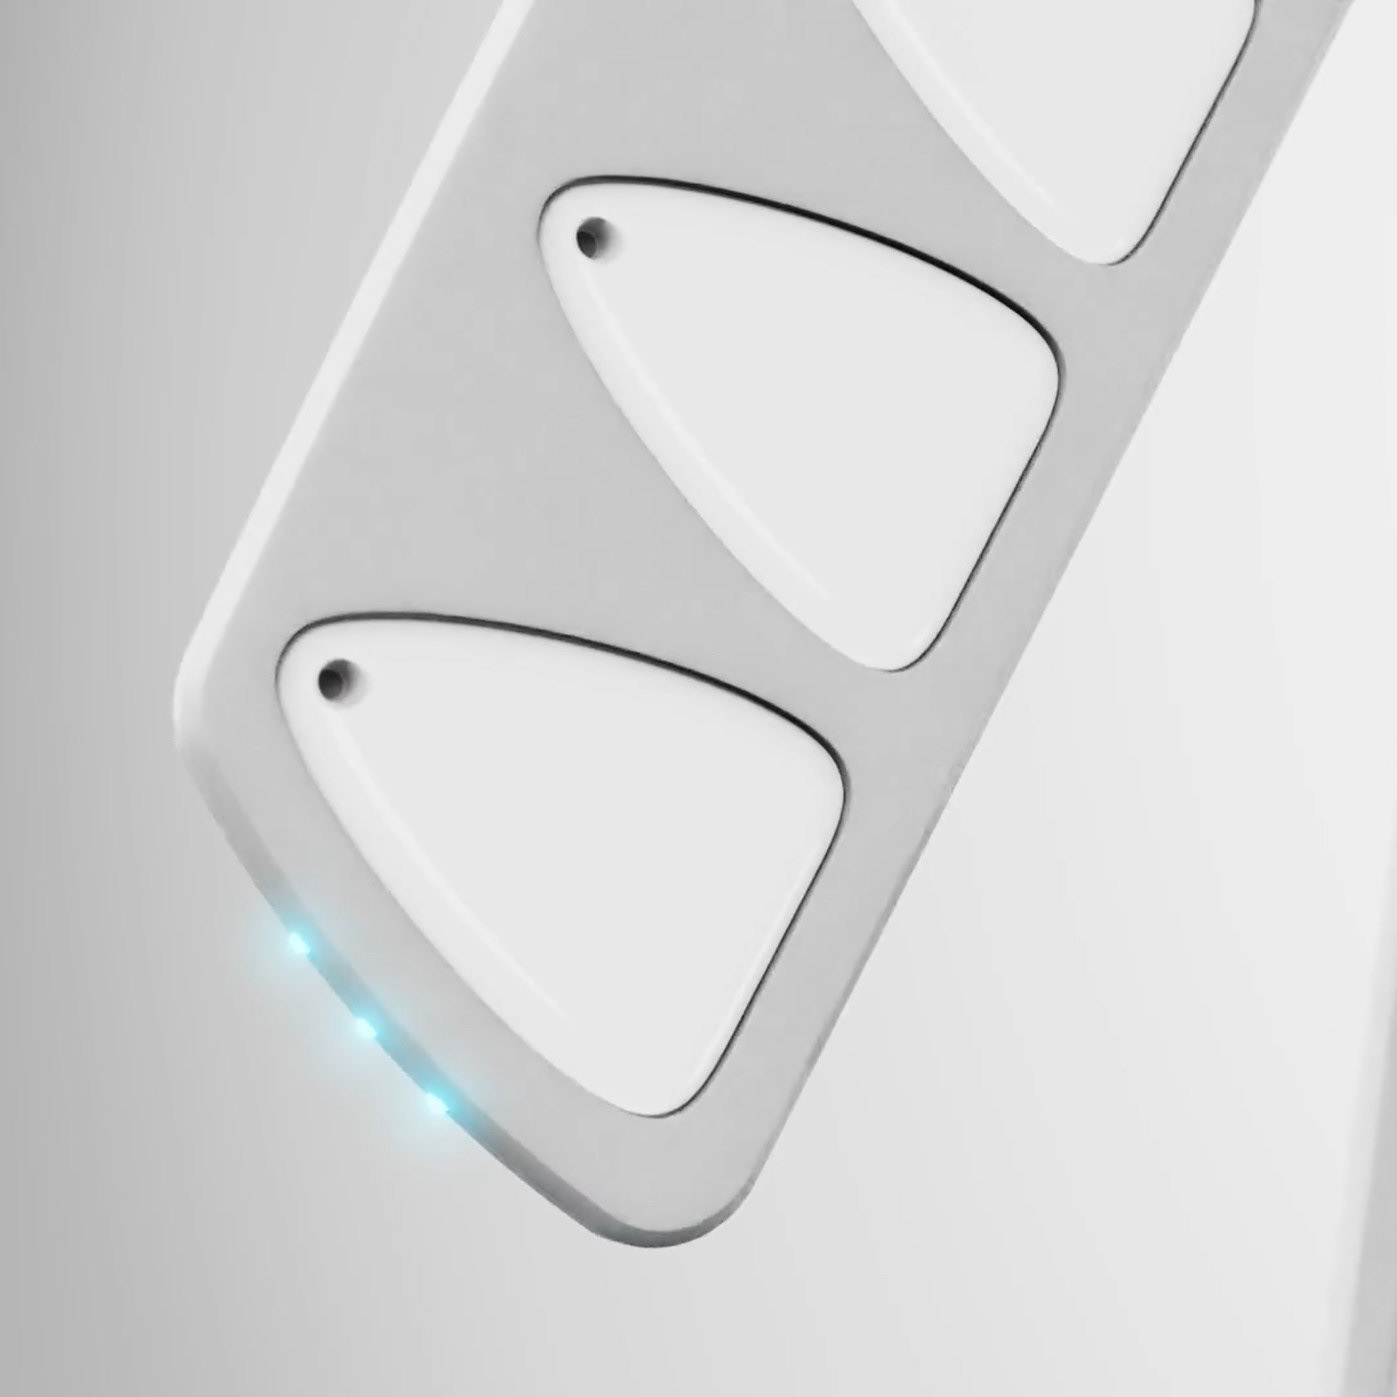
The chosen concept consists of multiple LED indicators to inform the user. A QR code has been integrated to streamline the installation process. Finally, the cable providing the product of power, has been given a bright color to ensure that users know where BedSense is located.
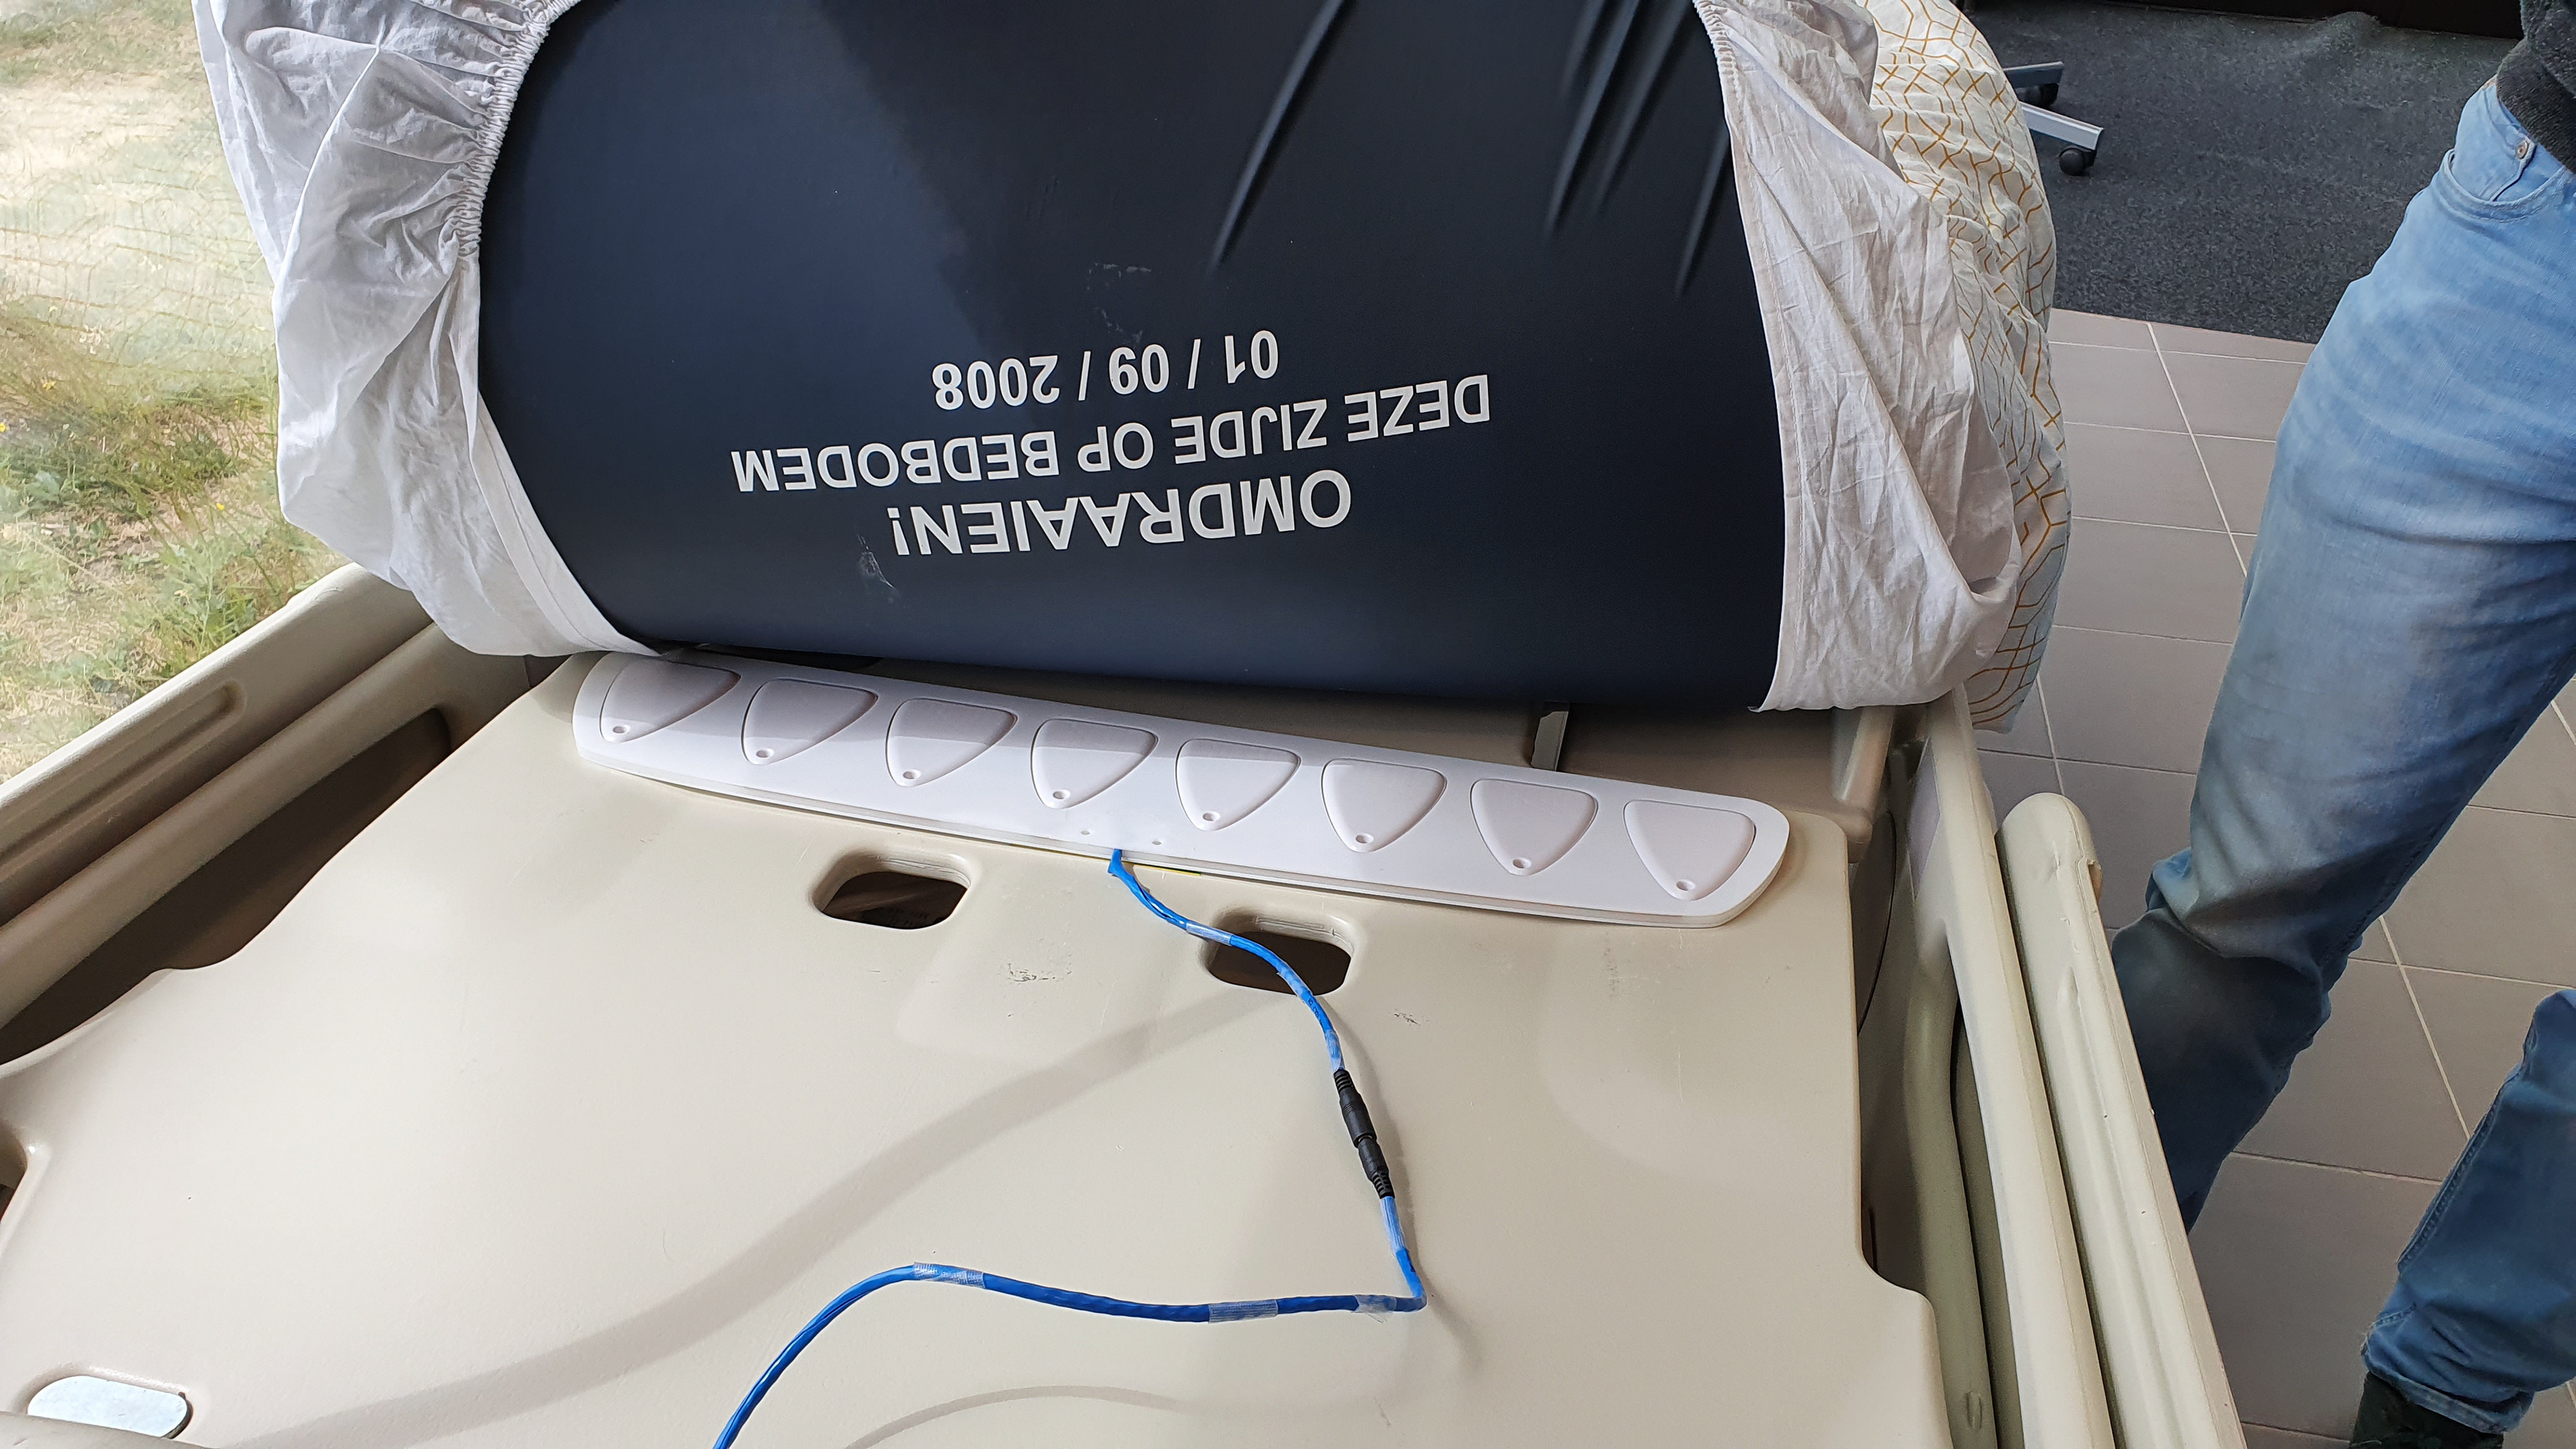
User testing & Prototype
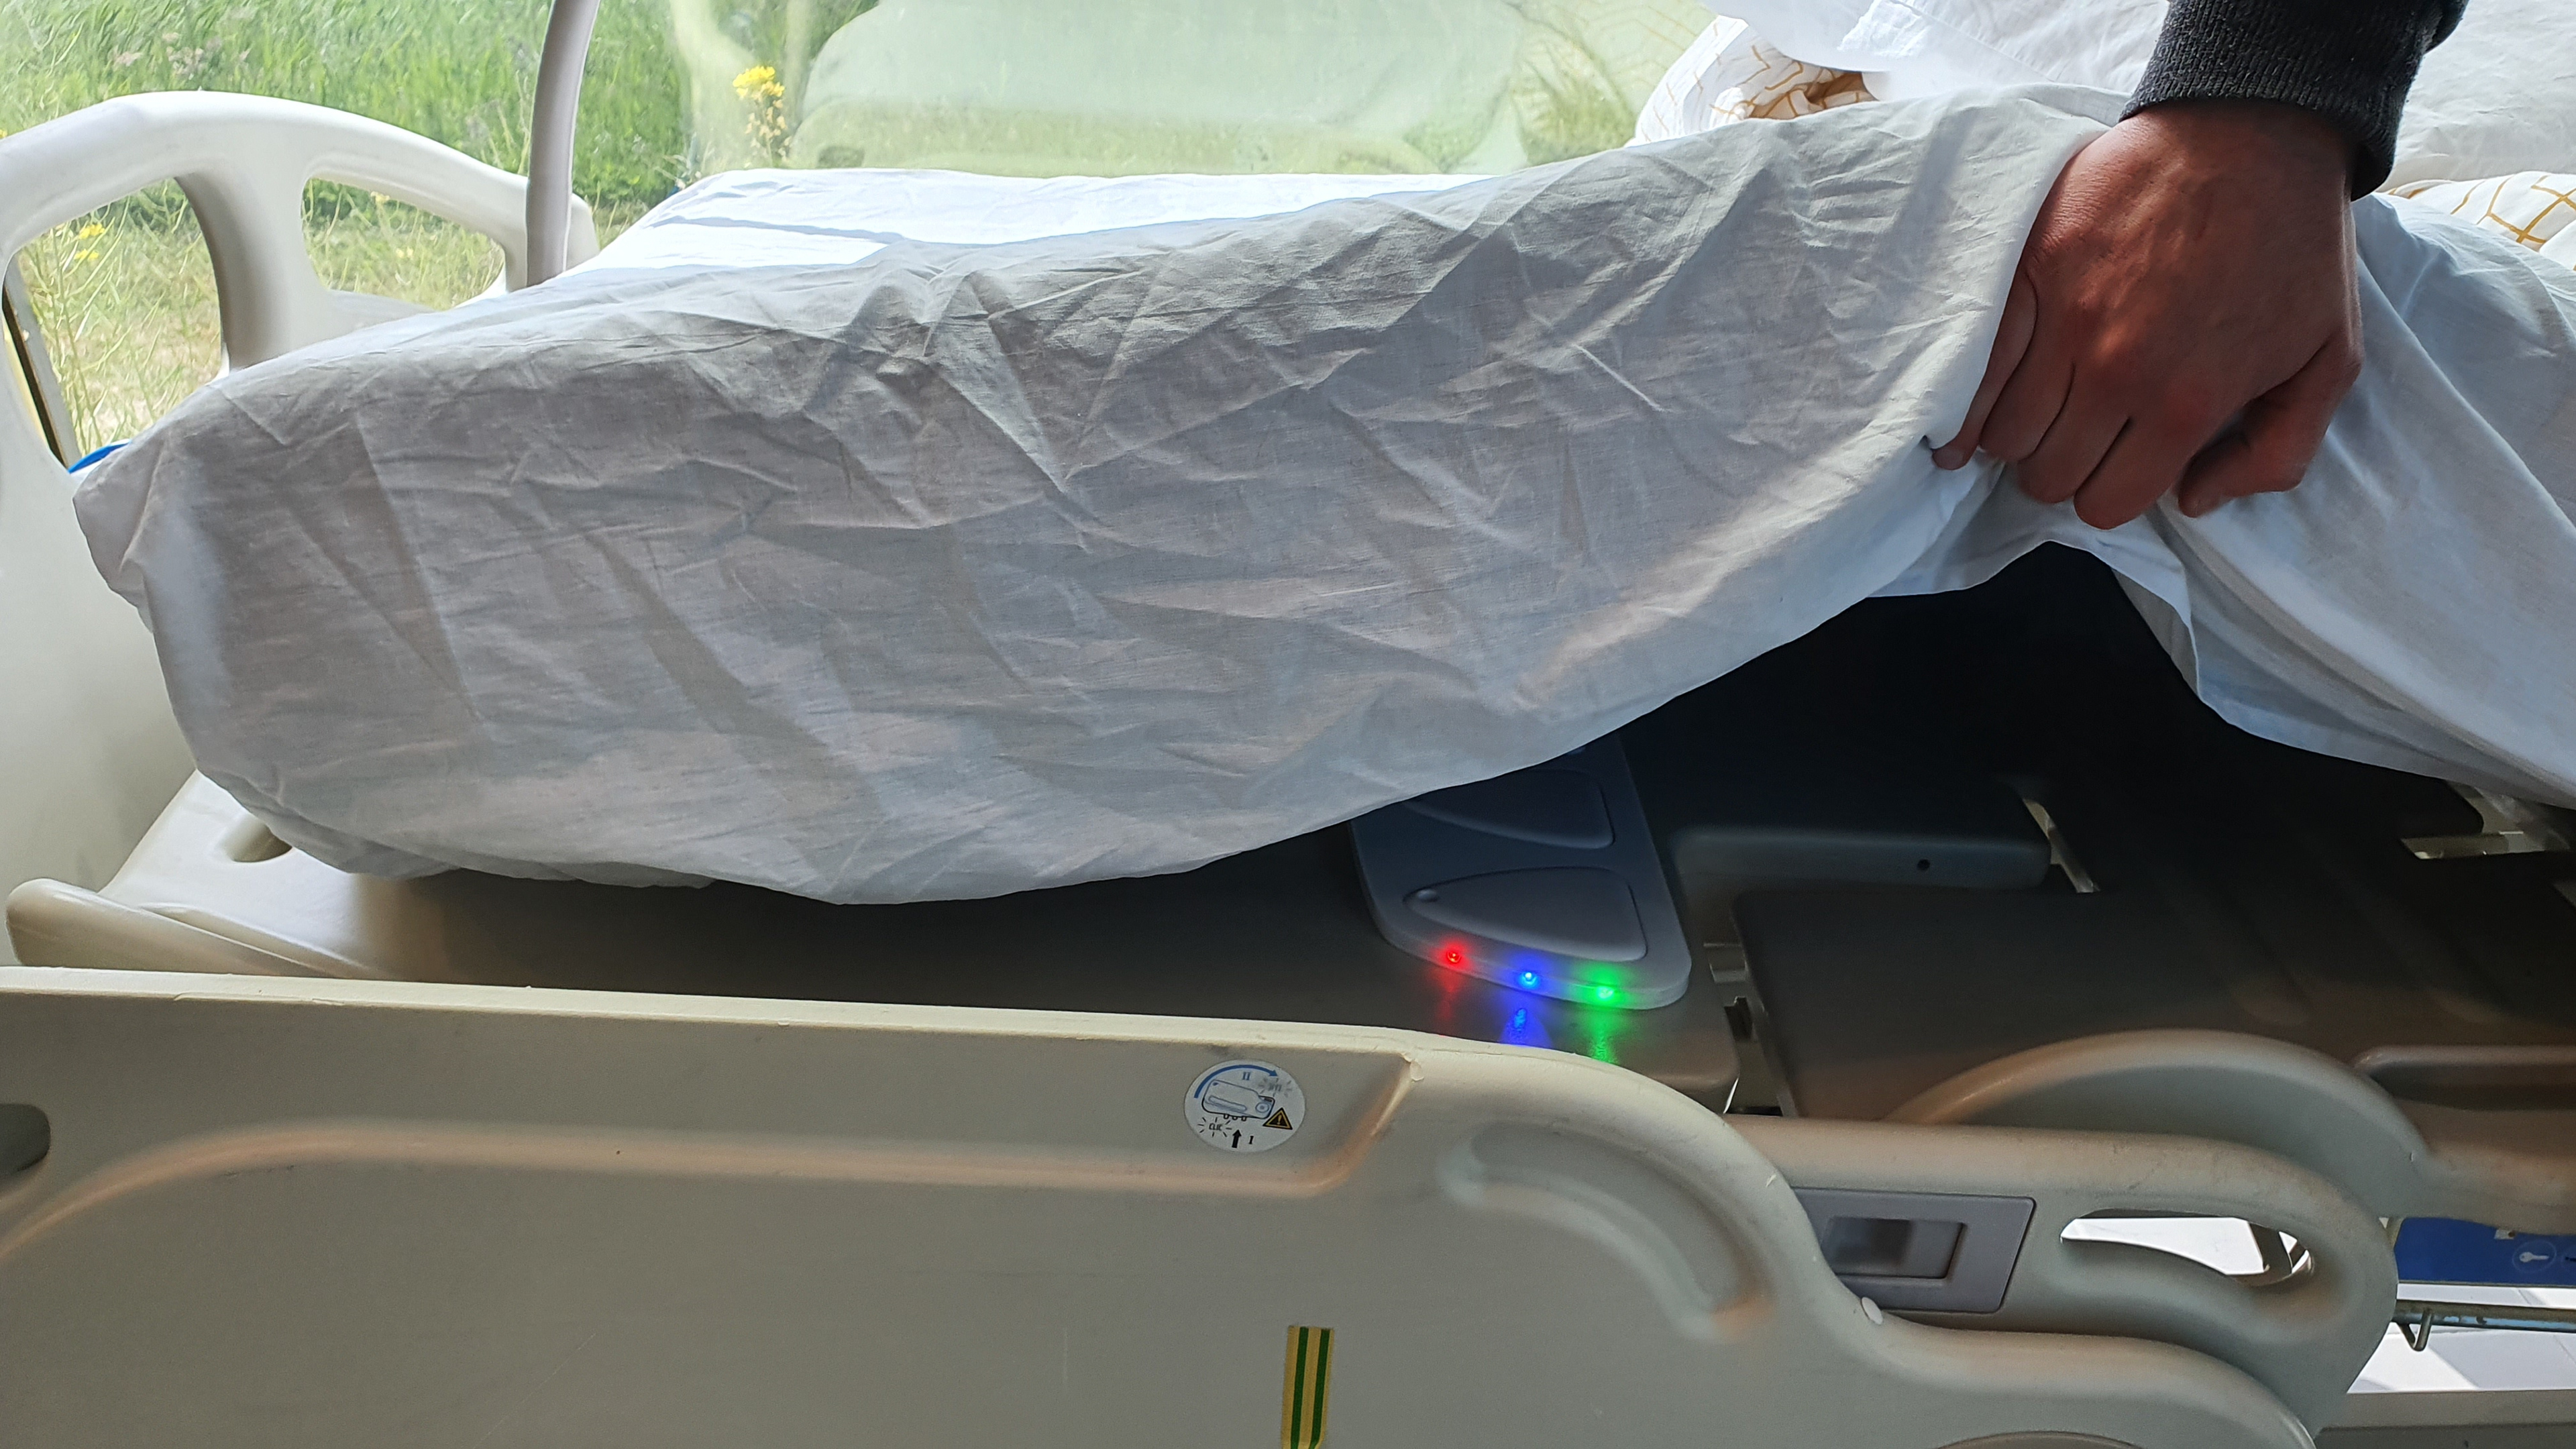
A rough prototype has been built to test the feasibility of notifying the user through LEDs while the product is positioned underneath a matress. This also gave me the opportunity to test wether a patient would actually notice a nurse slightly lifting the matress in order to check the LED indicators. In addition, tests regarding the usefulness of the hot-swappable DC-connectors have been done.
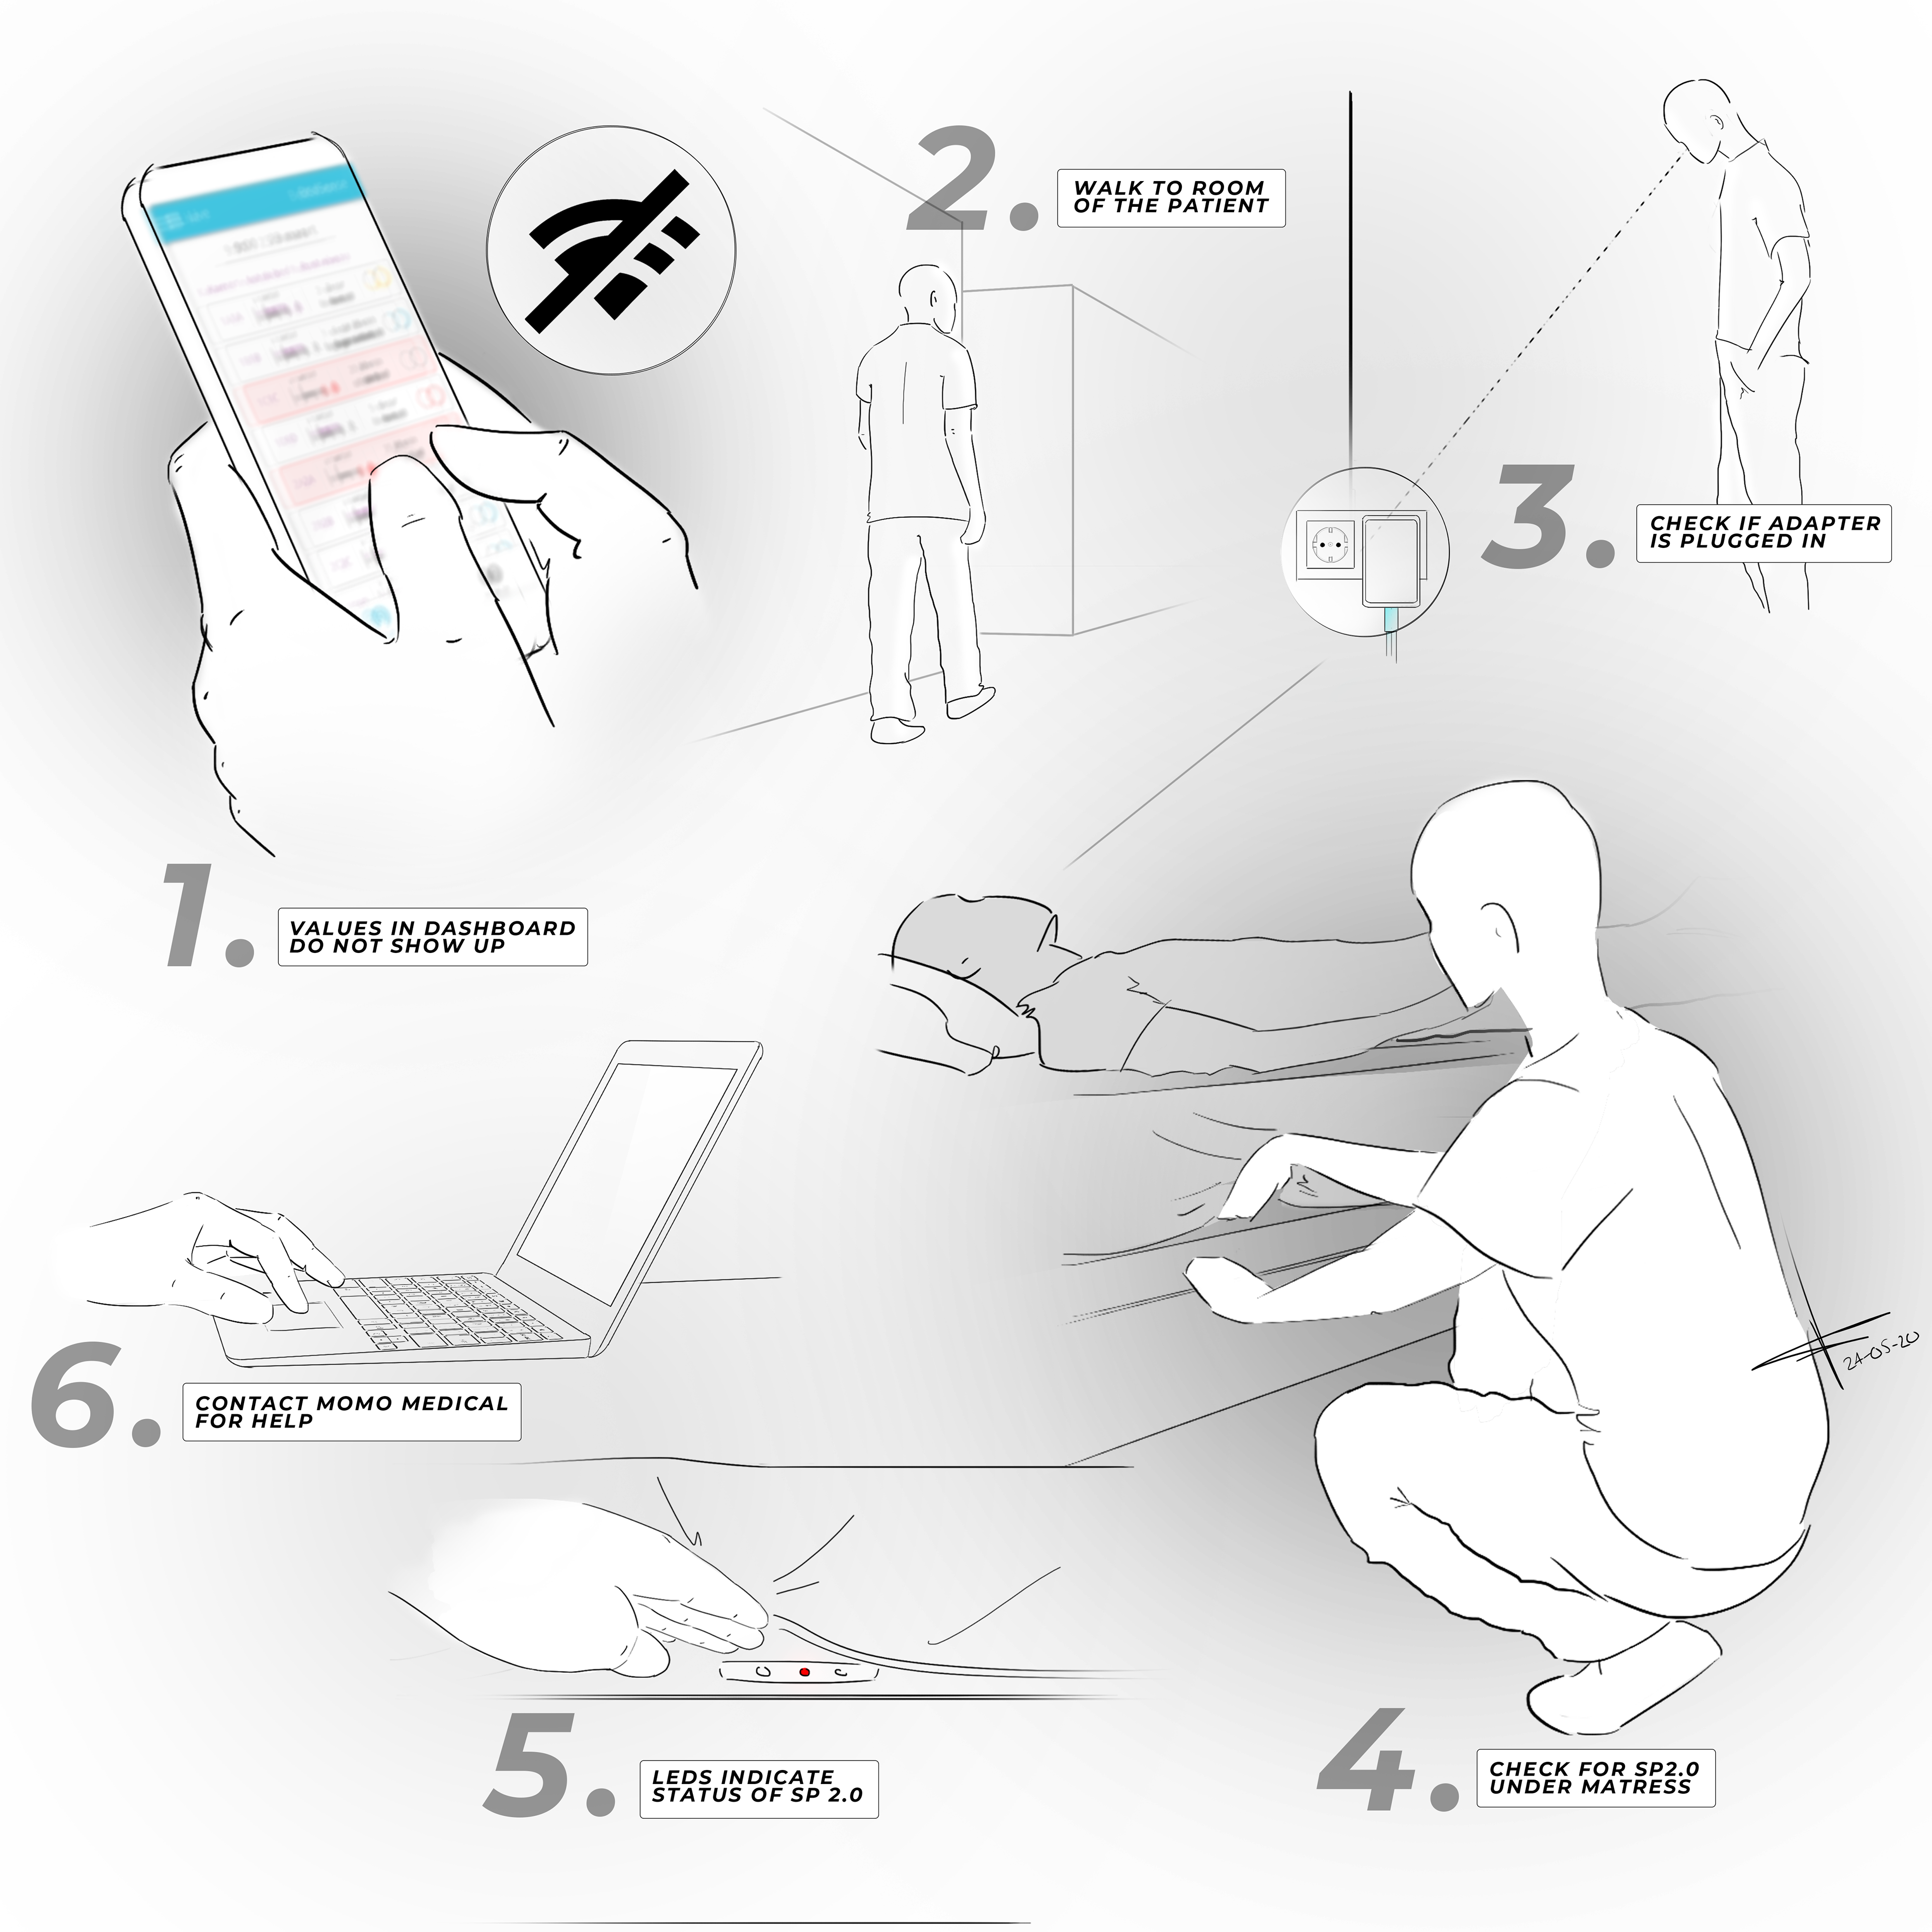
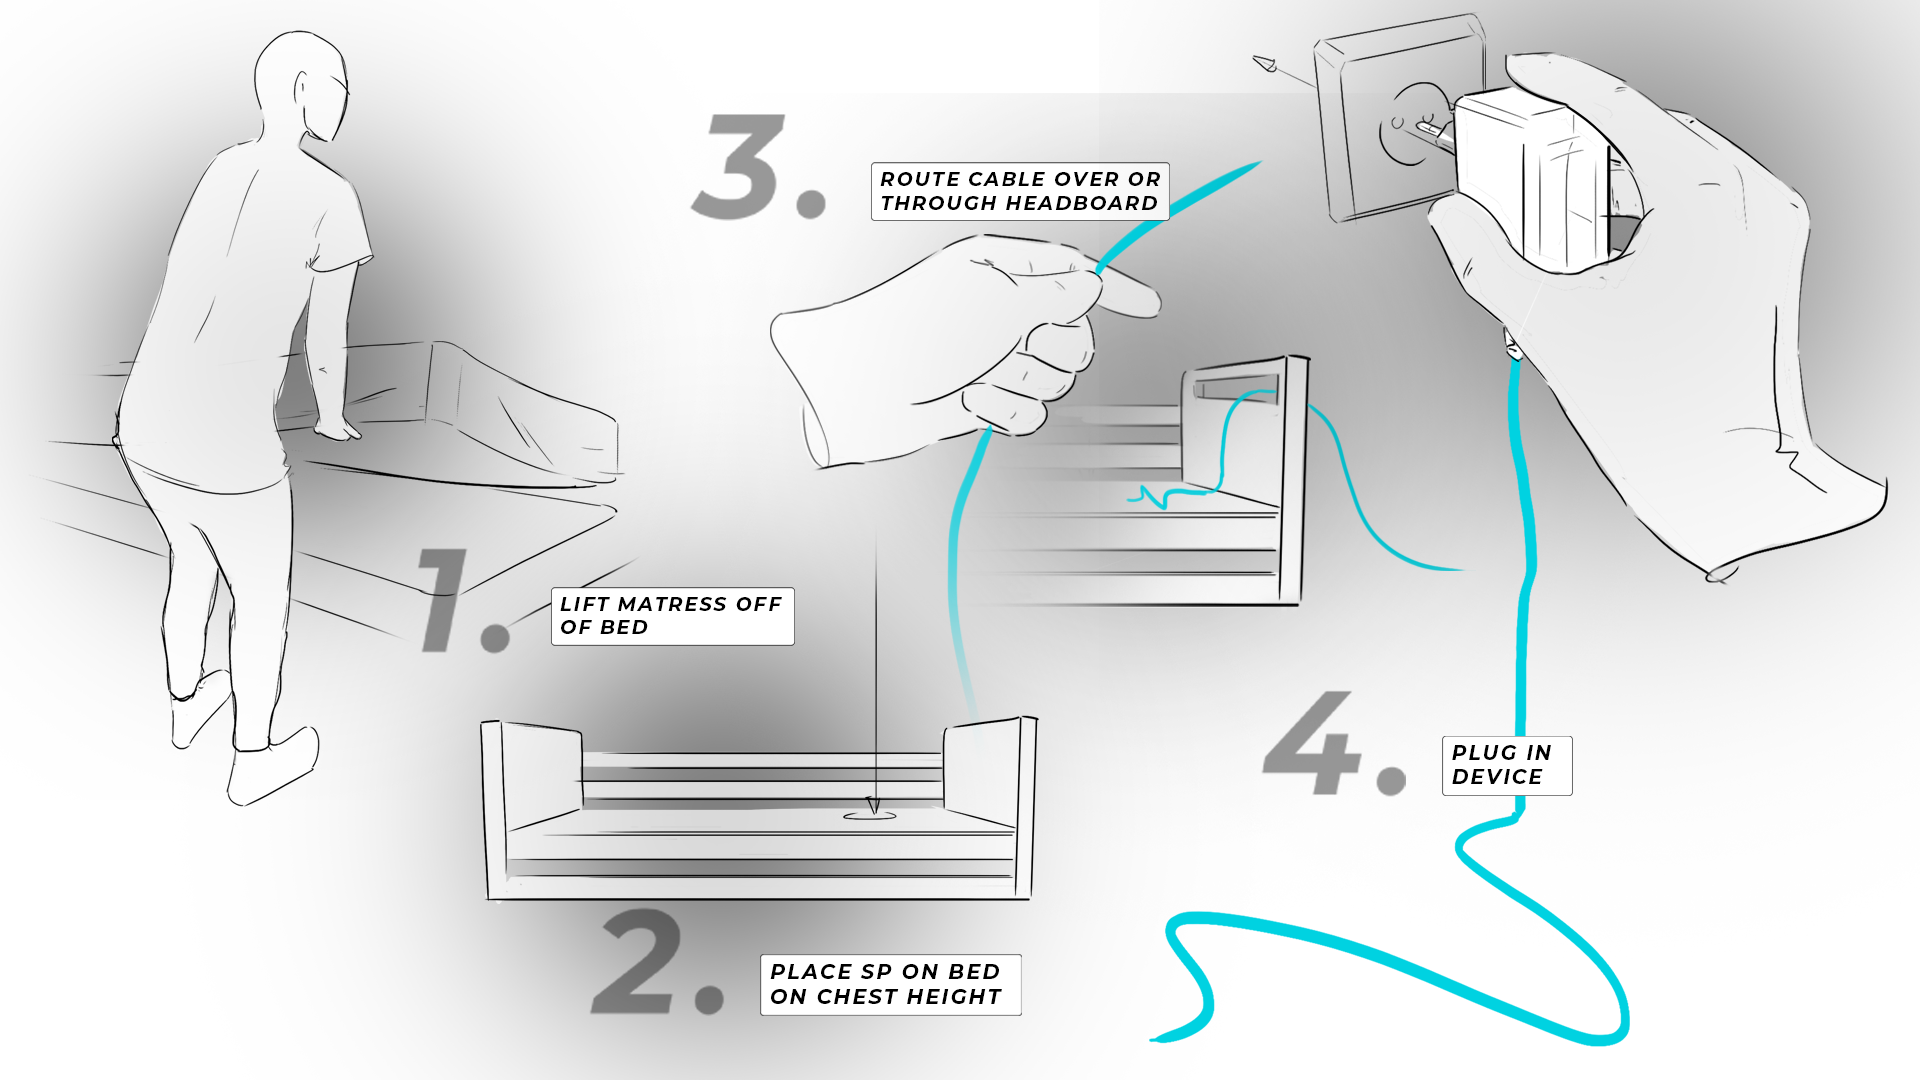
Storyboards
In order to communicate my solutions, I visualized multiple storyboards. These storyboards communicate how to use the integrated LEDs when the Sensorplate is positioned underneath the patient's matress, how to install the device, as well as show how to use the integrated QR codes to improve the installation process.

Final Design
The final design uses a WiFi module to communicate with the user through their smartphone or computer. In addition to this, multiple LEDs have been added to give users the possibility to see BedSense's status when in doubt. This also gave Momo Medical the opportunity to stop manufacturing Control Units, lowering production costs, but also drastically improving installation times, as the amount of products have been lowered from 2 to 1. A QR Code has been implemented to ensure a quick and easy installation process. Finally, a DC connector has been added to the power cable. This gives Momo Medical the opportunity to simply ship out a new power adapter module when the power cable breaks.
With the redesign, installation times have been reduced from 10 minutes to 2 minutes and overall manufacturing costs have been reduced by 40%.